


 En
En


Going paperless can offer huge advantages to your business. From reducing clutter to environmental concerns, there are many reasons individuals and companies are seeking to digitize their documents. And so many here, I want to tell you how to create a paperless office with a Raspberry Pi.
In this article, I will highlight an extremely powerful open-source tool available to help streamline this process: Paperless-NGX.
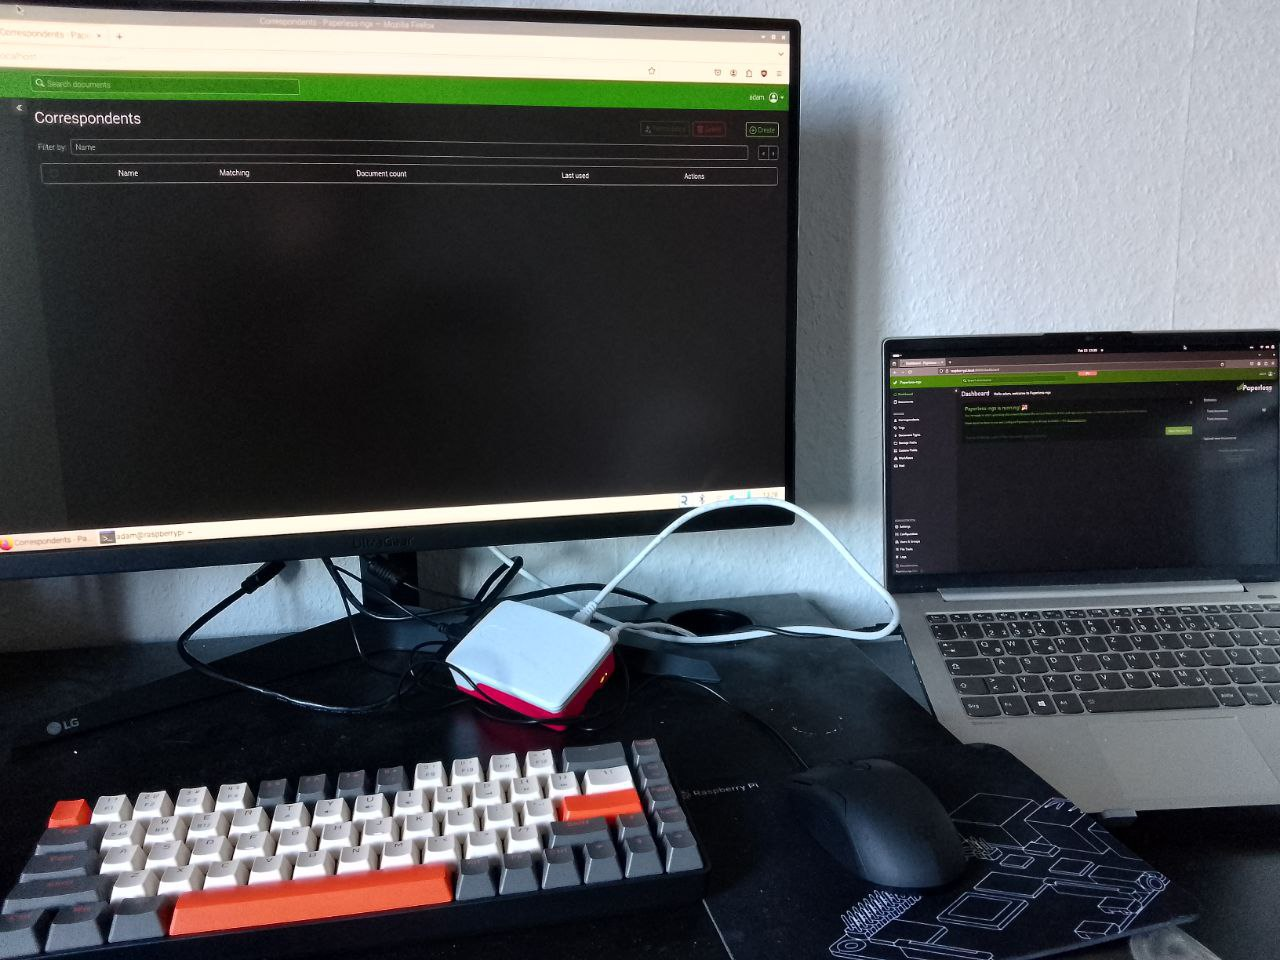
So I’m going to walk you through the steps to set up Paperless-NGX on a Raspberry Pi 5, turning your tiny computer into a document management powerhouse.
What is Paperless-NGX?
Paperless-NGX is an open-source document management system designed to help users digitize and organize their documents effortlessly.
It utilizes Optical Character Recognition (OCR) technology to extract text from scanned documents, making them searchable and easily retrievable.
With features like tagging, full-text search, and metadata extradocker psction, Paperless-NGX provides a comprehensive solution for managing your digital documents. It’s also able to run on multiple cores simultaneously, and perform health checks on your documents.
In my opinion, it’s the best document management system around.
And running your Paperless-NGX server on a Raspberry Pi saves you both time and money. It’s a simple and effective solution.
Prerequisites
Installing Paperless-NGX on your Raspberry Pi is incredibly easy, but it does require a few prerequisites before you can get it up and running.
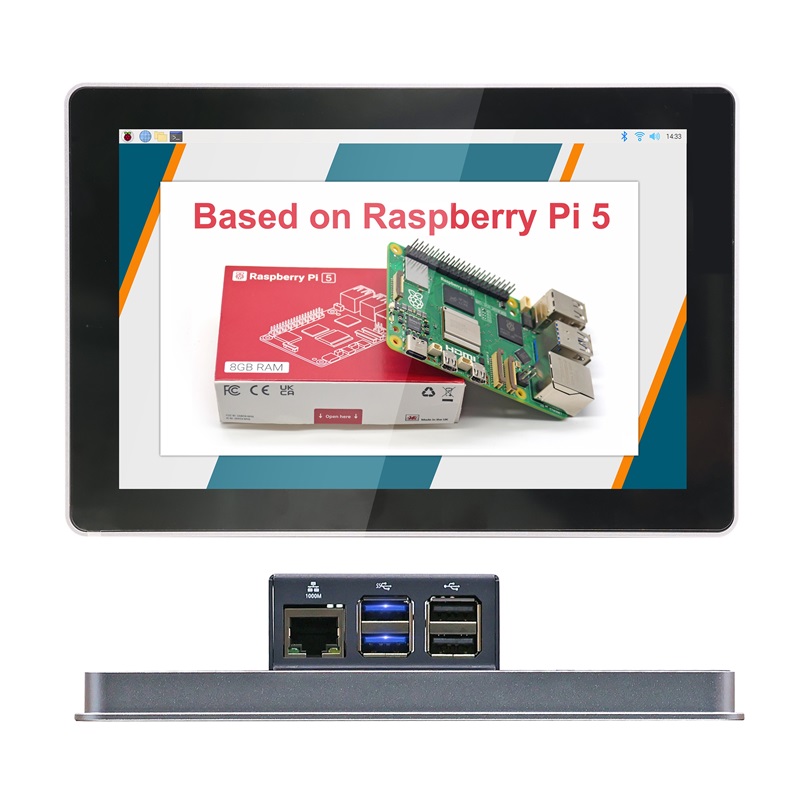
I’m setting this up on a Raspberry Pi 5 with 64-Bit Bookworm OS (Raspberry Pi 5 doesn’t run 32-Bit Bookworm OS anyway). In the documentation for Paperless-NGX, it’s written that you could get Paperless-NGX up on a Raspberry Pi 3B, but with some elements running slowly.
Paperless-NGX:
https://docs.paperless-ngx.com/faq/#will-paperless-ngx-run-on-raspberry-pi
On my Pi 5, I haven’t encountered any issues, however.
Now the primary prerequisite to getting Paperless-NGX going is Docker and Docker Compose.
https://docs.docker.com/engine/install/debian/
You can find detailed instructions by going to that link. In sum, though, you need to set up Docker’s apt repository:
# Add Docker's official GPG key:
sudo apt-get update
sudo apt-get install ca-certificates curl
sudo install -m 0755 -d /etc/apt/keyrings
sudo curl -fsSL https://download.docker.com/linux/debian/gpg -o /etc/apt/keyrings/docker.asc
sudo chmod a+r /etc/apt/keyrings/docker.asc

# Add the repository to Apt sources:
echo \
  "deb [arch=$(dpkg --print-architecture) signed-by=/etc/apt/keyrings/docker.asc] https://download.docker.com/linux/debian \
  $(. /etc/os-release && echo "$VERSION_CODENAME") stable" | \
  sudo tee /etc/apt/sources.list.d/docker.list > /dev/null
sudo apt-get update
And then run:
sudo apt-get install docker-ce docker-ce-cli containerd.io docker-buildx-plugin docker-compose-pluginAgain, you can find more details over at the Docker website if you’re running into any issues.
https://docs.docker.com/engine/install/debian/
To make sure everything’s up, run:
sudo docker run hello-worldTo see which Docker containers are up, you can always run:
docker psInstalling Paperless-NGX
Once you have Docker and Docker Compose installed on your Raspberry Pi 5, it’s time to install Paperless-NGX.
To do this, you just need to run a single command:
bash -c "$(curl --location --silent --show-error https://raw.githubusercontent.com/paperless-ngx/paperless-ngx/main/install-paperless-ngx.sh)"This will take you through a fairly straightforward installation script. It will ask you for names, your email address, and your configuration preferences.
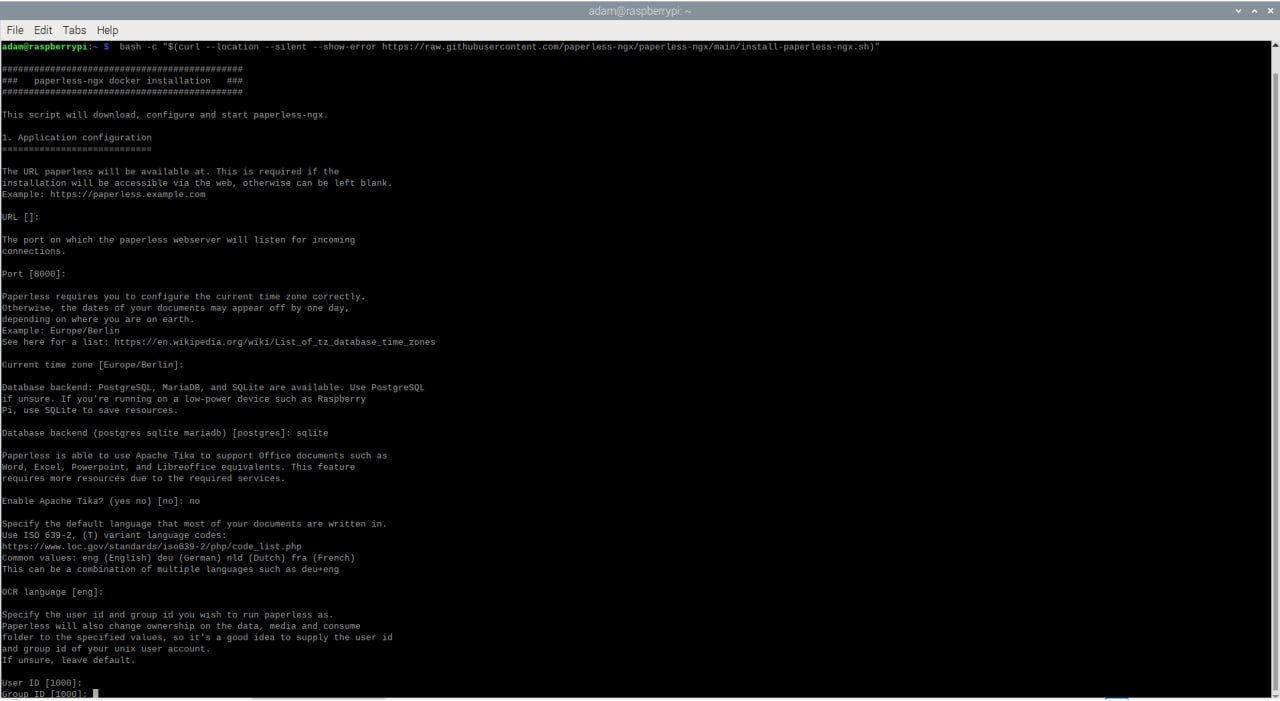
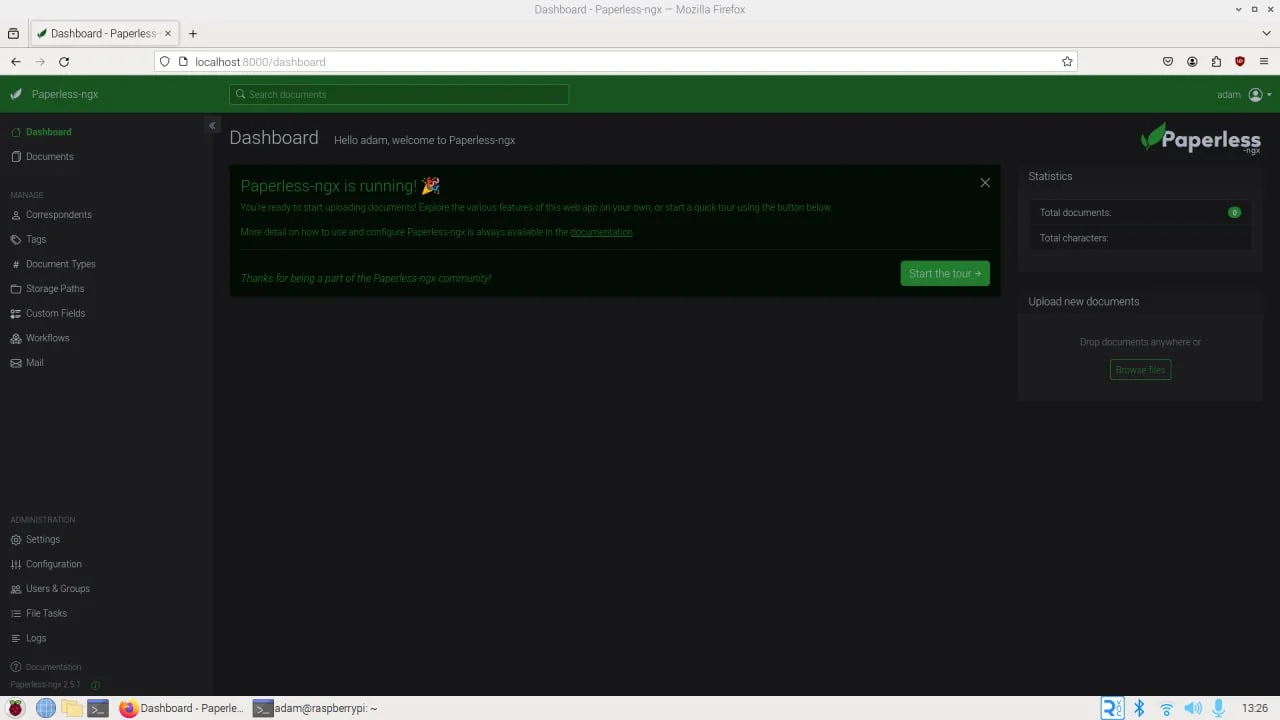
You can decide if you’d like it to run on a web server or just through localhost. It’s default port is 8000. So after it’s finished installing, you can run to make sure the containers are up.docker ps
Then you can open a web browser and go to: https://localhost:8000/ to open it up directly on your Raspberry Pi. If you’d like to access it from another computer, you can open up a web browser and go to https://
And that’s all there is to it. Now you and your colleagues can begin uploading and organizing your documents.
 Conclusion
Digitizing your documents with Paperless-NGX on a Raspberry Pi 5 is a cost-effective and eco-friendly solution for individuals and businesses alike.
But now if you want to be able to remotely control your Raspberry Pi, PiCockpit is the ideal solution to run together with Paperless-NGX. You can install PiCockpit in fewer than 5 minutes with no hassle.
Check it out:
Install PiCockpit
By following the steps outlined in this guide, you can streamline your document management process and take a step towards a paperless future.
Paperless-NGX can help you keep your documents under control and PiCockpit can help you keep your Pi under control.
原文链接: https://picockpit.com/raspberry-pi/create-a-paperless-office-with-a-raspberry-pi/


