


 En
En


Discover the best practices for building and deploying Node.js projects on your Raspberry Pi. Overcome common challenges and make your projects run smoothly with our expert tips and tricks.
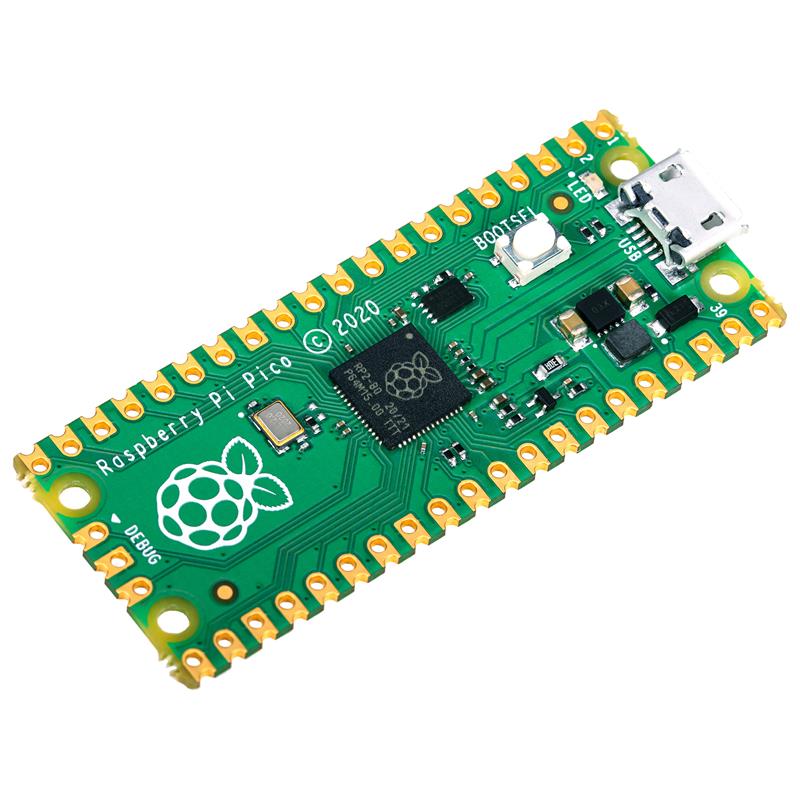
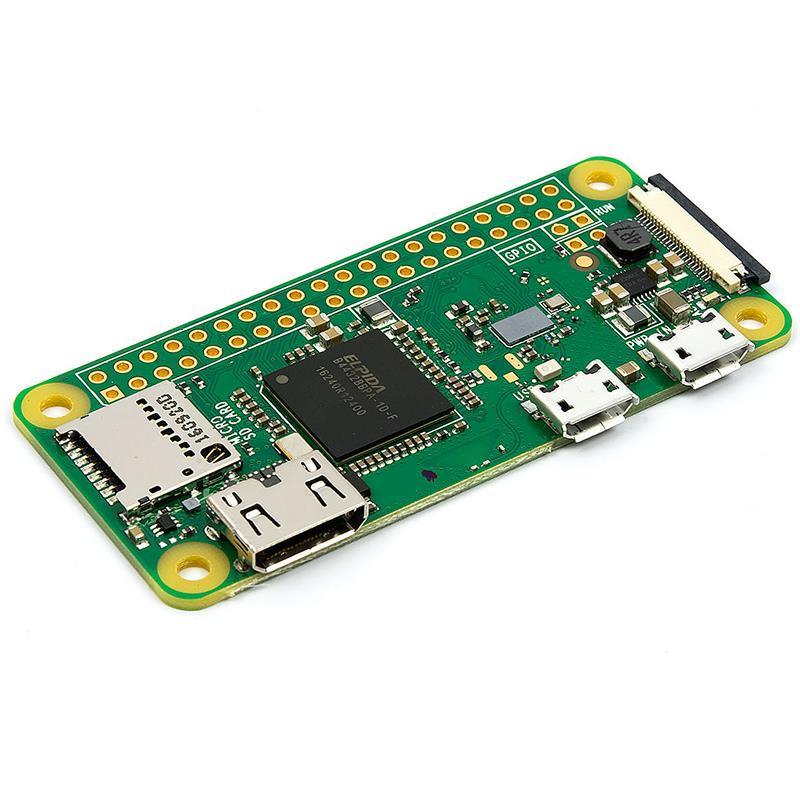
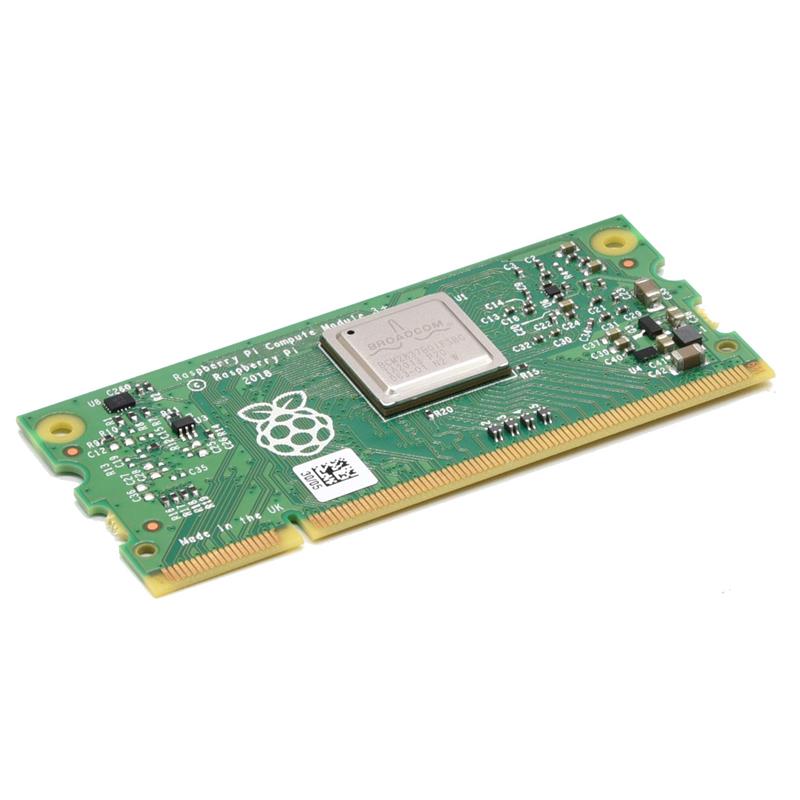
Last Christmas I received a gift so diabolical it ruined many weekends and kept me up at night. It was a brand new Raspberry Pi Zero.
The possibilities were too endless for my finite brain to handle, so I took the only obvious course of action. I threw it in a drawer and slowly backed away. A couple months later I read an awesome post by fellow double agent Adam Lukens. That post gave me the kick in the pants I needed to roll up my sleeves, dust off the Pi and get to work. For an extra challenge I decided to build my project on top of node. I call it Tot Tunes.
Tot Tunes:https://github.com/pingortle/tot-tunes
I built a working prototype in just an hour or two and felt like a super hero for a few minutes. Then I discovered a bug. I fixed that, but there were a number of other tiny issues that piled up. What if the power goes out or it gets unplugged? Thus, I built up an arsenal of tools around my little project through a series of learning experiences. I want to share what I’ve learned about not just building Tot Tunes itself. That was easy thanks to Adam’s detailed post. I want to lower the barrier for more people to build awesome things and run them with a high degree of confidence without going through the pain I experienced getting there with my project.
If you would like to follow along and build something as you read through this, you will need a Raspberry Pi with Raspbian installed, a reasonable grasp of javascript basics, and an installation of node. We will do a small amount of shell scripting as well.
I built a node thing
You may have a small project you’ve been itching to build, but if not I have a simple node service just for you. Go here, clone the project, and perform the instructions in the readme to get setup.
project:https://github.com/pingortle/til-node-raspberry-pi-delivery
How to deploy?
The most obvious way to deploy a node project is to install node on your Pi, and just start writing code. Some workflows may be perfectly comfortable with this approach, but I know I quickly missed the power and comfort of my laptop. Another common approach is to code it up on your laptop then copy your code over and run . You would simply copy the code every time you want to update it and restart the service. Not the worst situation in the world, but I thought there must be another way. For one thing, I was limited to the node version available in Raspbian’s package repositories, which was not ideal since I wanted to use newer node versions for performance and features. A common solution to this problem is to use a tool like nodenv to manage node versions. But I realized that I have a choice. Do I continue managing all this infrastructure on the Pi or try to find a simpler way? I had recently heard about a project for bundling up packages with the node runtime so that you could distribute the application as a standalone executable. This ended up solving a lot of my problems. You can find the tool on GitHub at zeit/pkg. Since I was dealing with a binary executable now, I knew I needed to get a binary for linux that would work on the Pi’s CPU architecture. The initial test showed that pkg theoretically supports these constraints, but there was an error message.npm install && npm start
nodenv:https://github.com/nodenv/nodenv
zeit/pkg:https://github.com/vercel/pkg
Error! Not able to build for ‘armv7’ here, only for ‘x64’
After some digging, I found this issue comment on github. It showed that as long as my dependencies are pure javascript, I could tell pkg not to compile the result to bytecode with a flag, . The build succeeded, so I copied the binary to my Pi. It worked! I no longer had to worry about keeping the deployed and development versions of node in sync. I could just check that configuration into git.pkg ... --no-bytecode
Question comments:https://github.com/vercel/pkg/issues/145#issuecomment-311150484
It works! But I think it just crashed…
I live near tornado alley. Fortunately I’ve never actually had a tornado in my neighborhood. Unfortunately every year without fail a storm comes through and the power goes out. Sometimes it’s just a brownout where the power fluctuates a bit, but either way my battery-less Raspberry Pi reboots without warning. The point is that my Raspberry Pi services need to be ready for anything nature throws their way. Since I was using Raspbian, systemd seemed like the right tool for the job. I had no idea how to write a systemd service, but this seemed like the perfect excuse to learn. It’s actually very easy to make! The CLI is pretty intuitive, and you only have to create a single file describing how to run your service.
[Unit]
Description=Tot Tunes

[Service]
User=pi
ExecStart=/usr/local/bin/tot-tunes
Type=simple
Restart=always

[Install]
WantedBy=multi-user.target
Place that file in the directory. Then run the following commands./etc/systemd/system/
systemctl daemon-reload
systemctl enable tot-tunes.service
service tot-tunes start
With this simple configuration you get a rock solid service that automatically restarts on reboots and crashes. As a bonus, it also has easy access to your application’s logs through the journalctl interface.
Mission accomplished?
Hacking on Raspberry Pi projects is fun and a little addictive. But if you’re like me, we also aspire to have a life outside of our little IoT overlords, so there’s not always time to spend hours learning a new operating system or programming language.
We need to get an idea implemented quickly so we can get on with our lives with just a pinch more JS automation because you can never have too much JS 😉.
Although I chose node partly as a fun challenge, I think it has other advantages for IoT newcomers. For one thing, just about everybody knows a little JS, so it’s a way for those folks to get productive fast. If you’re not a fan of JS, there is a ton of tooling available to help you write TypeScript, coffeescript, and many other languages that compile down to JS. npm has thousands of packages so you can build on others’ work, and pkg allows us to package all of this up as an executable binary with no requisite dependencies to install.
Even with all the reasons to use node and pkg on your next Raspberry Pi project, you will want to weigh the costs and benefits before committing to this platform. Node is a pretty heavy dependency, and including the runtime in your binary currently creates files upwards of 30 MB. This can slow down deployments since you have to transfer the entire binary instead of just a few text files. Also, like any interpreted language, you may experience unacceptable performance for your application.
This setup is great for spinning up a simple service, but I think we can continue improving the Raspberry Pi and node experience. One of the biggest dichotomies when building software for the Raspberry Pi is how you can get rapid and higher fidelity feedback by developing on the device itself, but you may not have all the nice tools you are used to. If you choose to build the software from the comfort of your laptop, you may experience the pain of waiting for a deployment every time you want to test your code on the Pi itself.
Another hangup is the tedium of setting up the configuration for your service. The manual process of editing files on the Raspberry Pi can easily eat hours of time you could have spent actually building the thing you are passionate about. A related issue is distribution. What if your non-technical friend visits and notices your cool new gadget? What if you built a project for someone else, and you need to update it?
Opportunities abound in this space, and I’m excited to continue learning, building, and sharing with you. If you are doing exciting things with the Raspberry Pi and any of this resonated with you, please reach out!
Original link: https://testdouble.com/insights/build-deploy-nodejs-projects-raspberry-pi


