


 En
En

Unstructured Data Processing with a Raspberry Pi AI Kit — Hailo Edge AI
Unstuctured Data Processing, Raspberry Pi 5, Raspberry Pi AI-Kit, Milvus, Zilliz, Data, Images, Computer Vision, Deep Learning, Python
Detecting, Displaying and Storing Detected Images in Live Camera Streams at the Edge
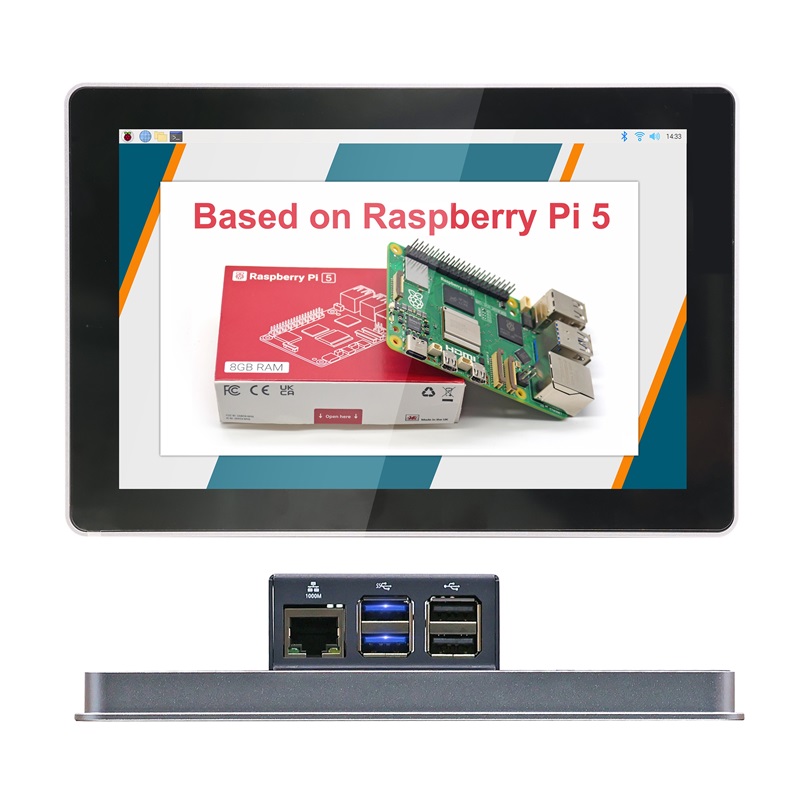
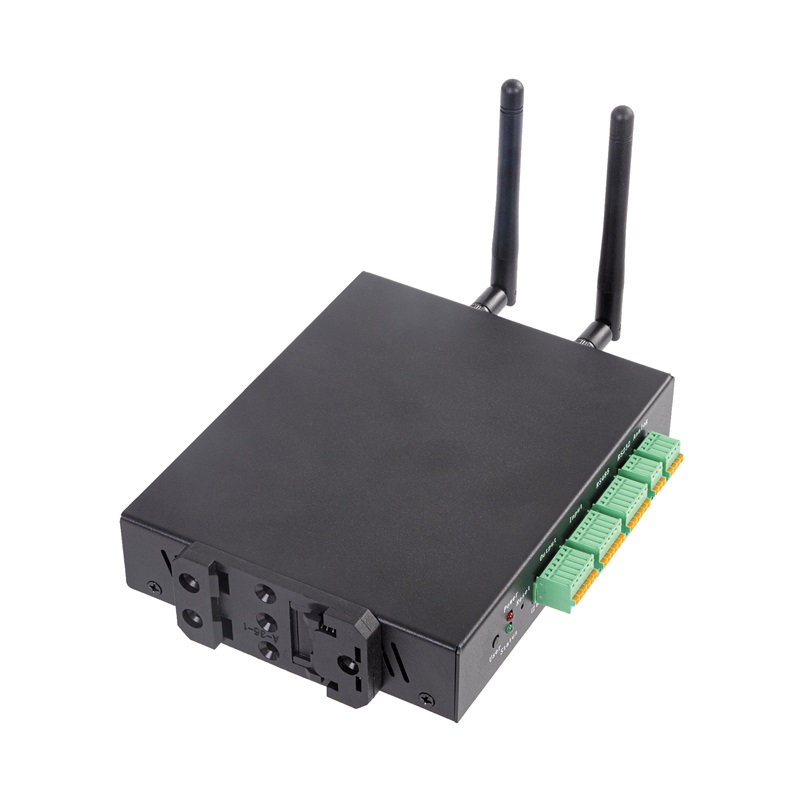
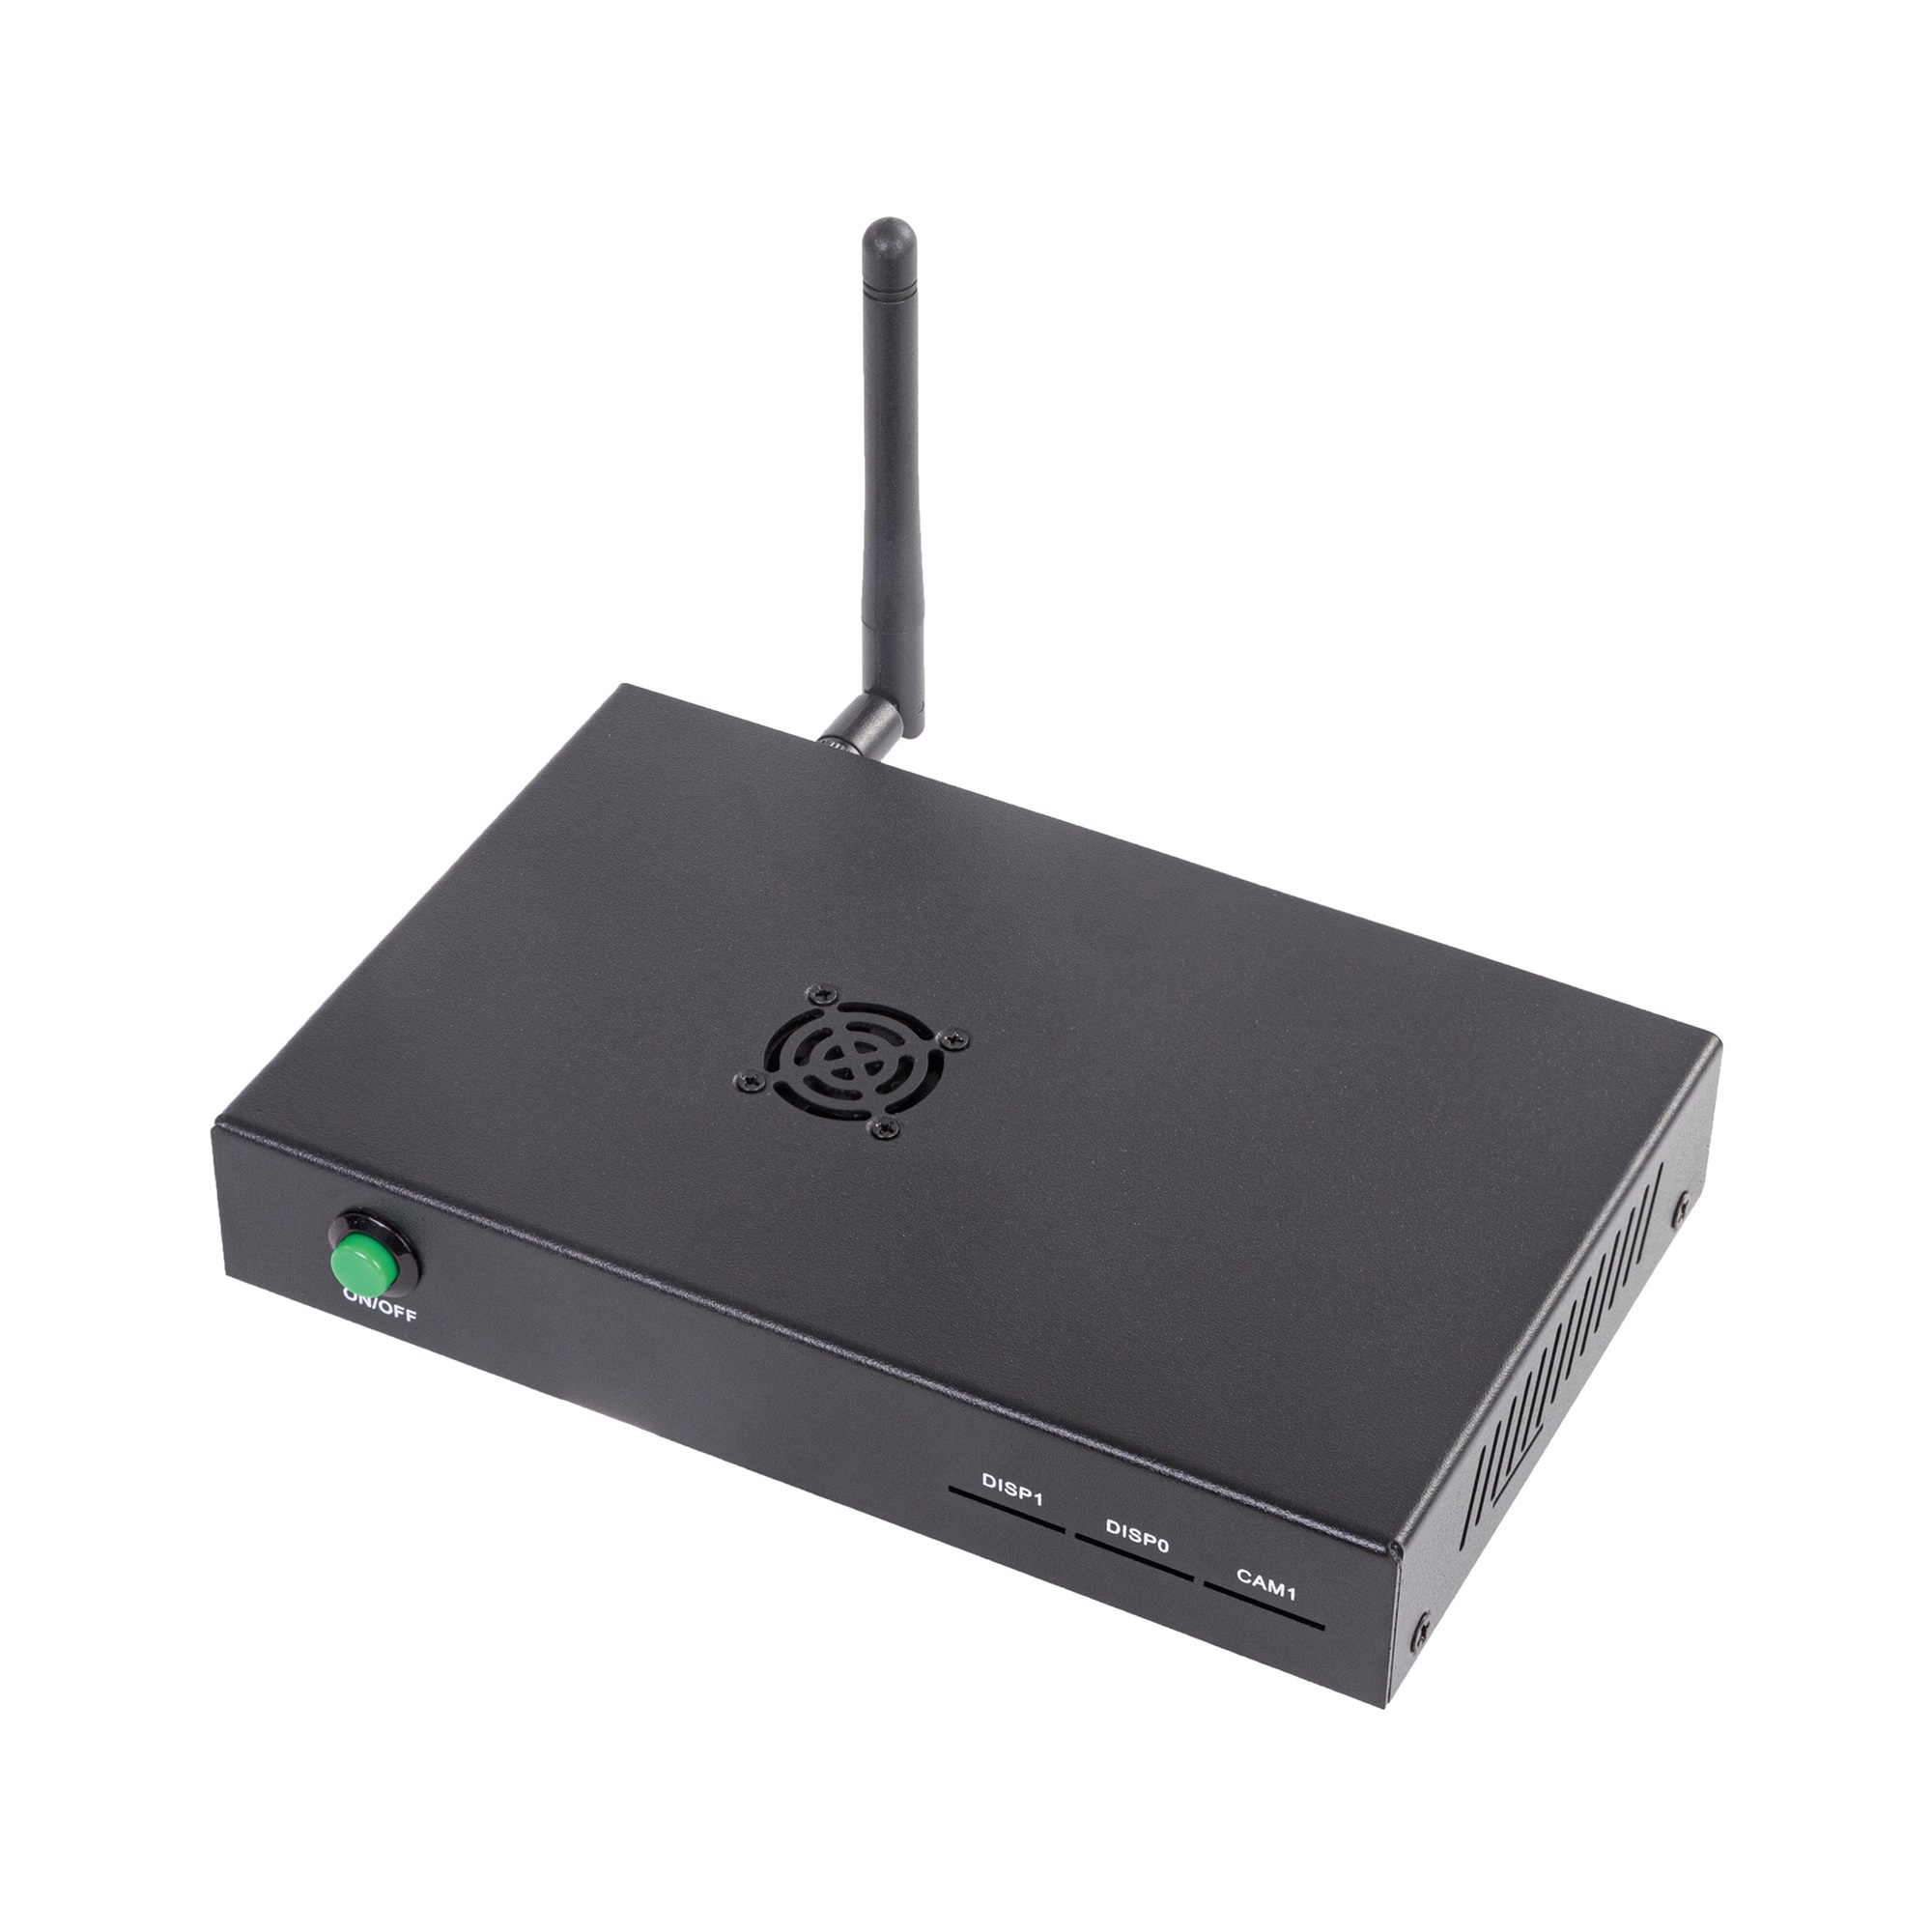
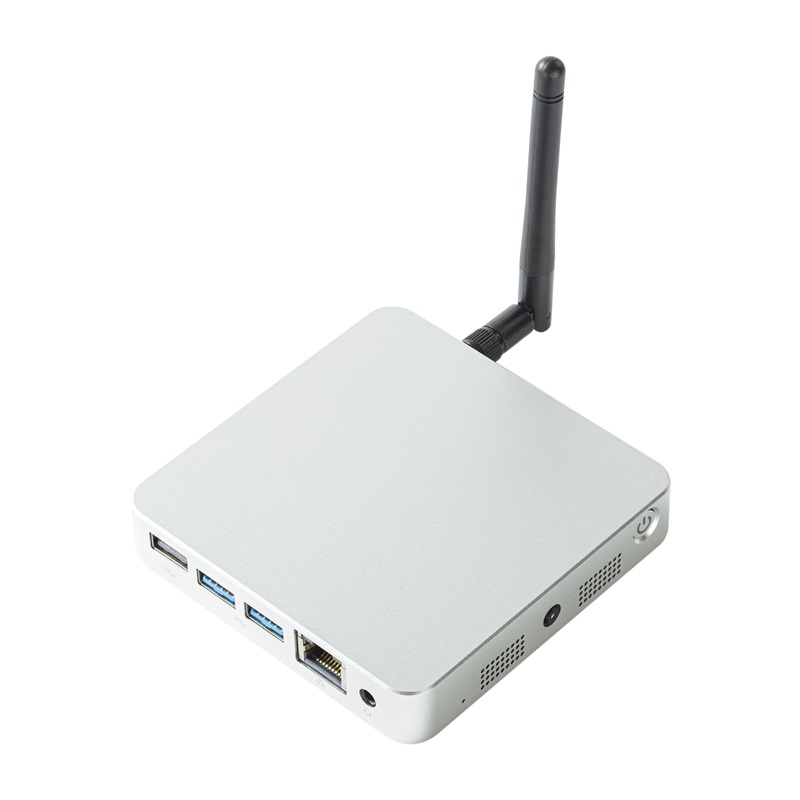
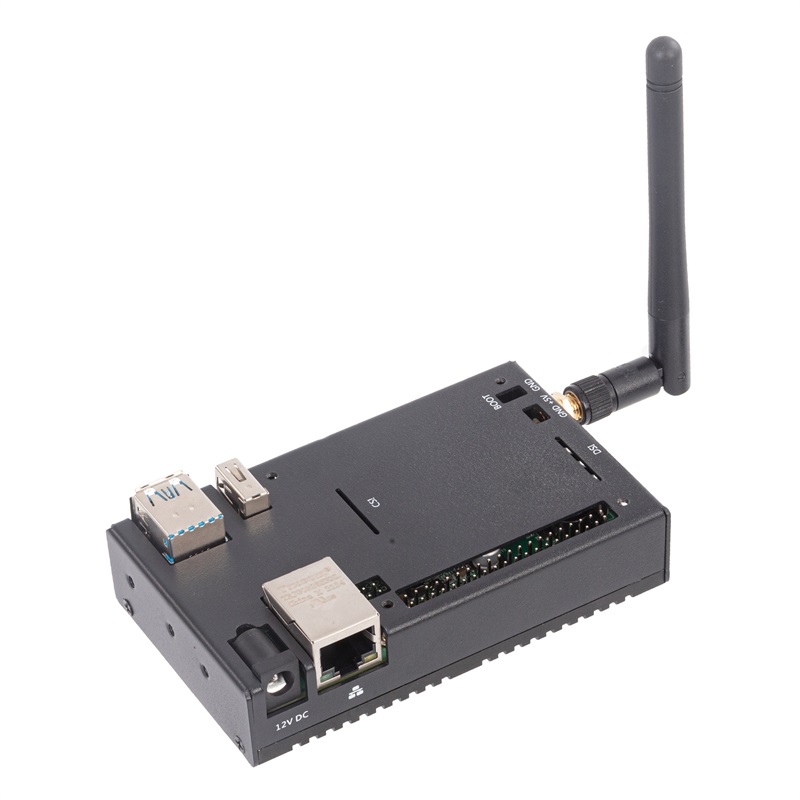
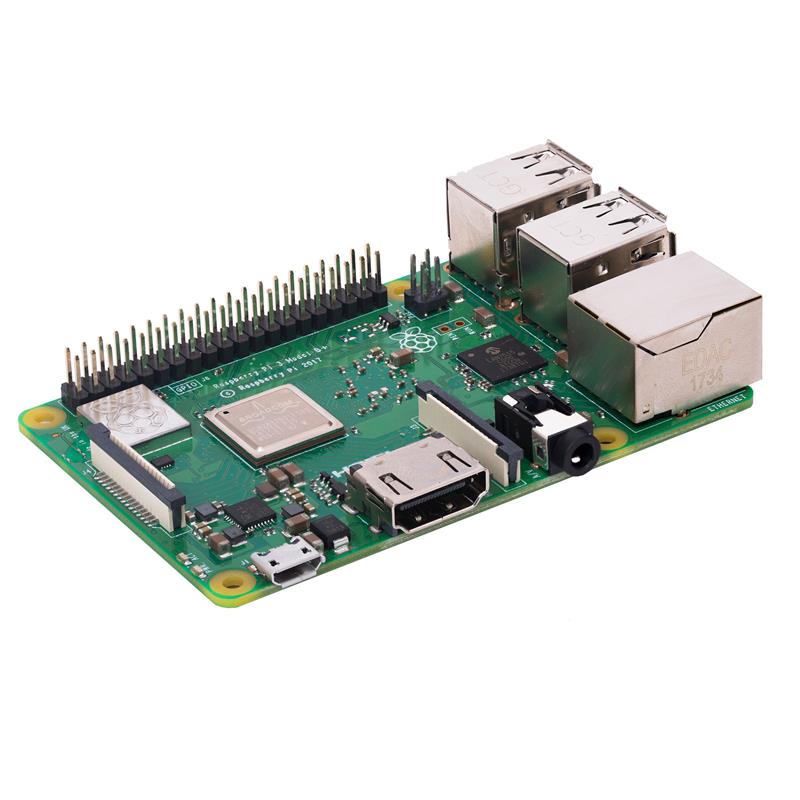
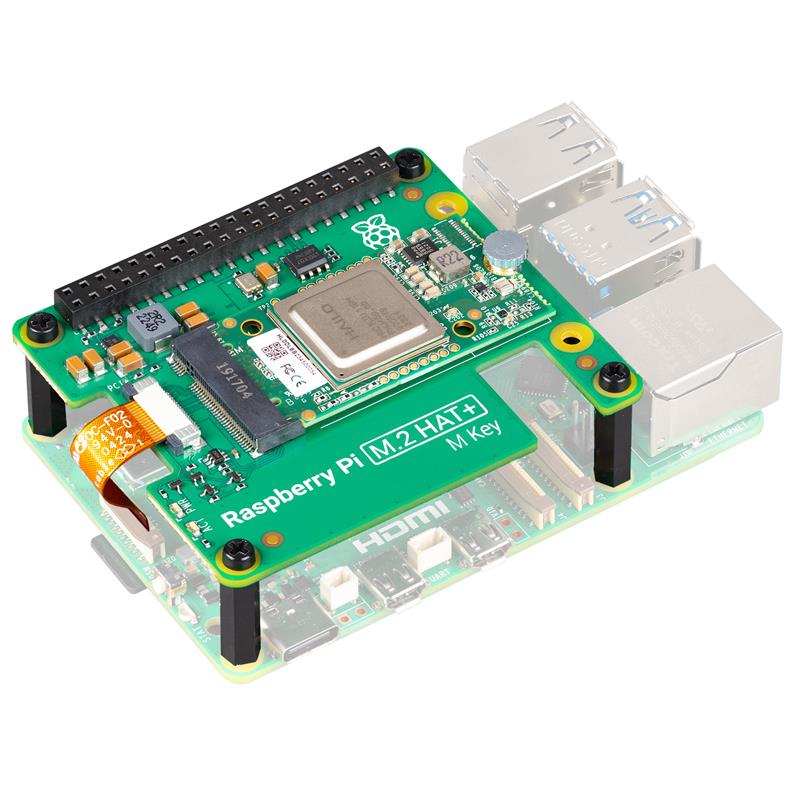
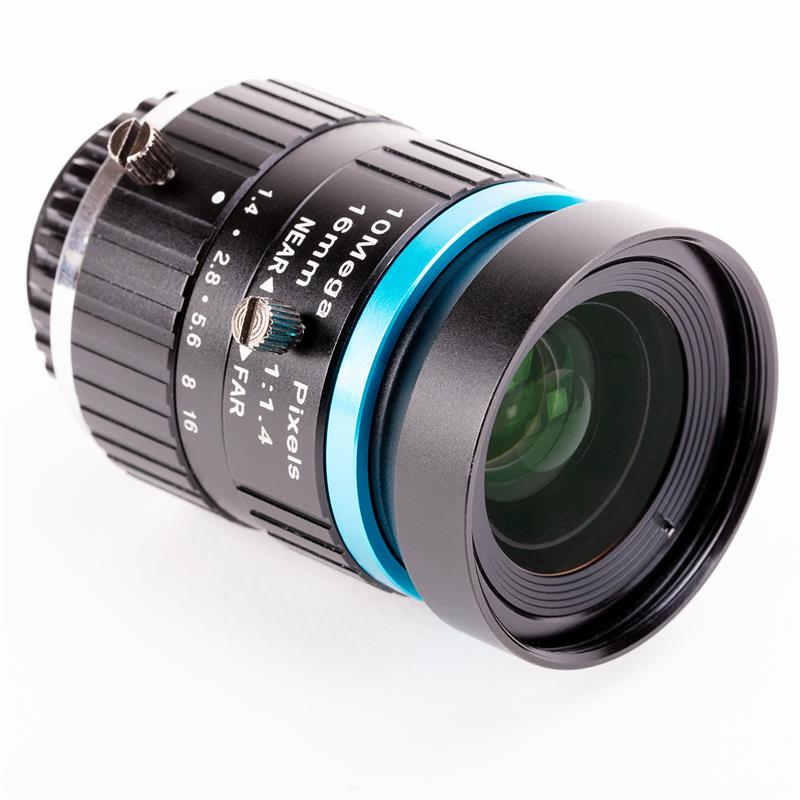
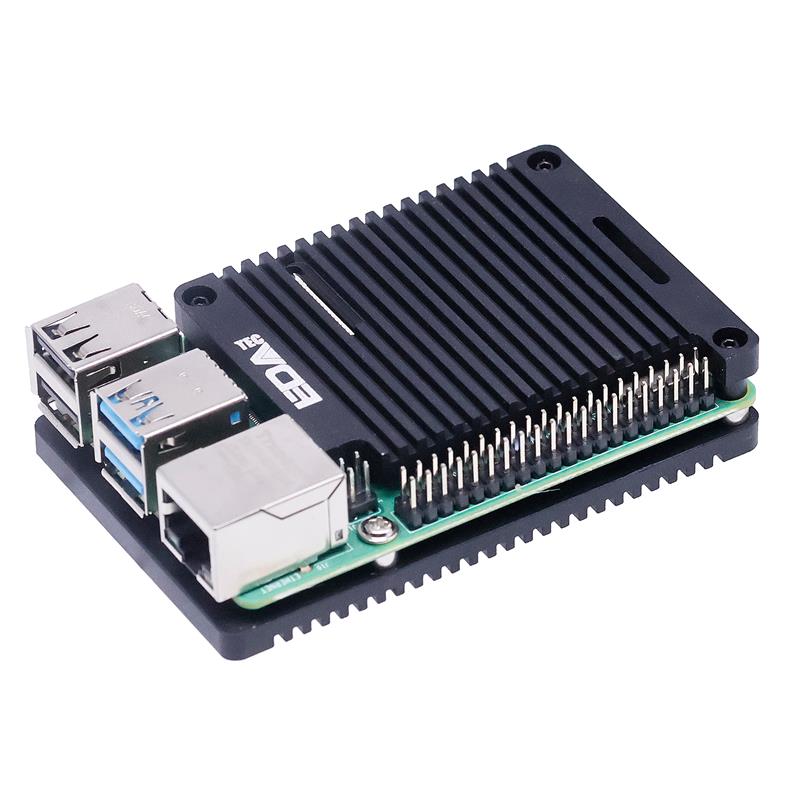
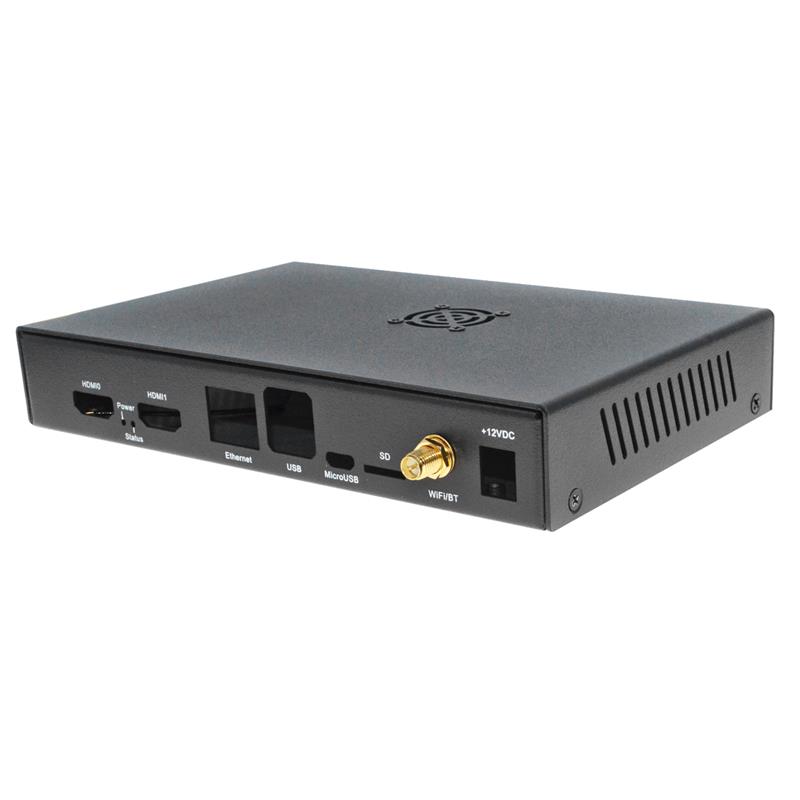
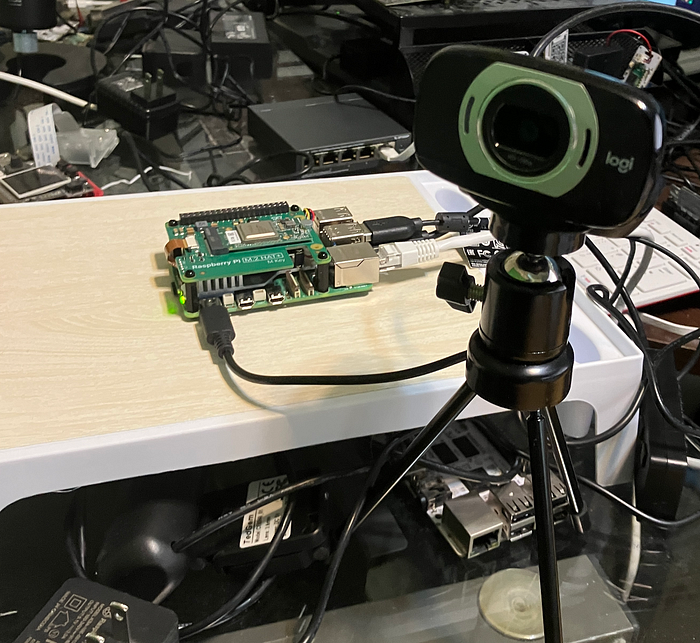
Even with a small budget, you can start building some Edge AI use cases thanks to the power of devices like the Raspberry Pi 5 with 8GB of RAM and the NVIDIA Jetson Orin Nano. Recently the the Raspberry Pi AI Kit was released for the RPI5 platform, so I had to get one and try it out.
The AI Kit adds a neural network inference accelerator capable of 13 tera-operations per second (TOPS), which is pretty good for $70 US. Attached to this M.2 Hat is the Hailo-8L M.2 Entry-Level Acceleration Module which will give us our AI powers.
In this first demo, I modified one of the provided RPI5 Hailo AI Python examples to do live Image Detection on a web camera then send the detections to a Slack channel and more importantly vectorized with metadata to Milvus.
Running Live From The Raspberry Pi 5
We are using Hailo’s example RPI5 object detection program that we have enhanced to send to Slack, MiNio and Milvus.
So using the example Object Detection program, but first I added some imports for my libraries for Slack, Milvus, S3, TIMM, Sci-Kit Learn, Pytorch and UUID. I also set a few constants to use later. We then connect to our Milvus server and Slack channel and beging our GStreamer loop. I have a time check and on that if something was detected I save the camera frame to a file that I upload to S3 and send to my Slack Channel. Finally I add my vectorized image and important metadata of S3 Path, filename, label and confidence. We get an autogenerated ID for each entry in our collection.
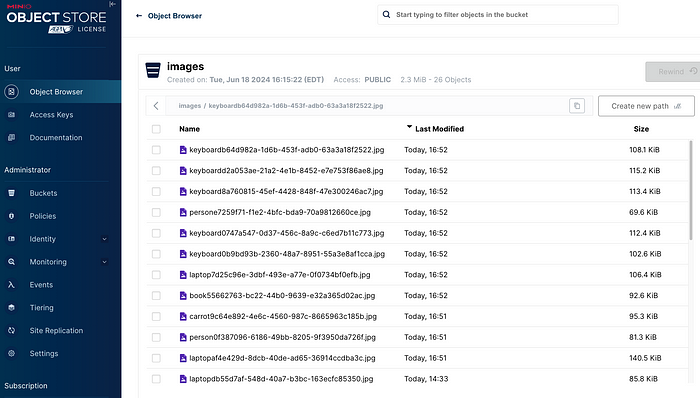
Our images have been uploaded to MinIO:
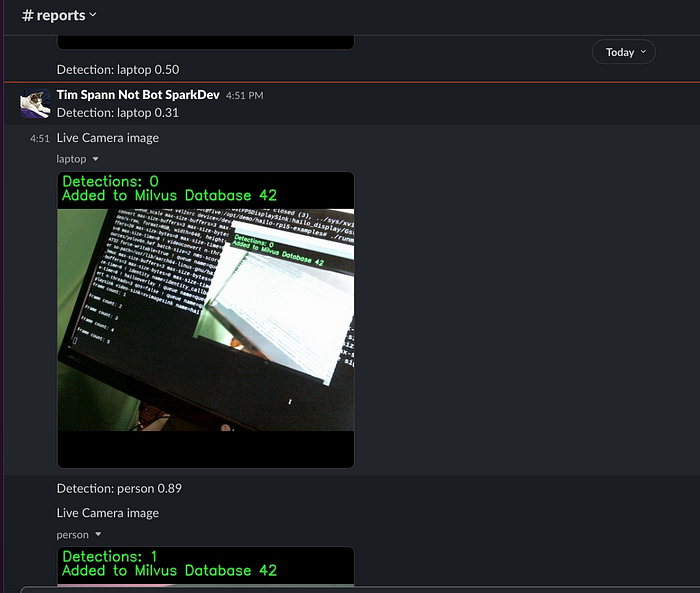
They have also been sent with our text message to our #reports Slack channel.
Most importantly our metadata and vectors have been uploaded and are already available for super fast search.

We can now start querying our vectors and I show you how with a Jupyter notebook.
Querying the Database and Displaying Images
Loading
In [1] :
!pip install boto3Requirement already satisfied: boto3 in ./milvusvenv/lib/python3.12/site-packages (1.34.129)
Requirement already satisfied: botocore<1.35.0,>=1.34.129 in ./milvusvenv/lib/python3.12/site-packages (from boto3) (1.34.129)
Requirement already satisfied: jmespath<2.0.0,>=0.7.1 in ./milvusvenv/lib/python3.12/site-packages (from boto3) (1.0.1)
Requirement already satisfied: s3transfer<0.11.0,>=0.10.0 in ./milvusvenv/lib/python3.12/site-packages (from boto3) (0.10.1)
Requirement already satisfied: python-dateutil<3.0.0,>=2.1 in ./milvusvenv/lib/python3.12/site-packages (from botocore<1.35.0,>=1.34.129->boto3) (2.9.0.post0)
Requirement already satisfied: urllib3!=2.2.0,<3,>=1.25.4 in ./milvusvenv/lib/python3.12/site-packages (from botocore<1.35.0,>=1.34.129->boto3) (2.2.1)
Requirement already satisfied: six>=1.5 in ./milvusvenv/lib/python3.12/site-packages (from python-dateutil<3.0.0,>=2.1->botocore<1.35.0,>=1.34.129->boto3) (1.16.0)In [5] :
from __future__ import print_function
import requests
import sys
import io
import json
import shutil
import sys
import datetime
import subprocess
import sys
import os
import math
import base64
from time import gmtime, strftime
import random, string
import time
import psutil
import base64
import uuid
import socket
import os
from pymilvus import connections
from pymilvus import utility
from pymilvus import FieldSchema, CollectionSchema, DataType, Collection
import torch
from torchvision import transforms
from PIL import Image
import timm
from sklearn.preprocessing import normalize
from timm.data import resolve_data_config
from timm.data.transforms_factory import create_transform
from pymilvus import MilvusClient
import os
from IPython.display import display
In [6] :
from __future__ import print_function
import requests
import sys
import io
import json
import shutil
import sys
import datetime
import subprocess
import sys
import os
import math
import base64
from time import gmtime, strftime
import random, string
import time
import psutil
import base64
import uuid
import socket
import os
from pymilvus import connections
from pymilvus import utility
from pymilvus import FieldSchema, CollectionSchema, DataType, Collection
import torch
from torchvision import transforms
from PIL import Image
import timm
from sklearn.preprocessing import normalize
from timm.data import resolve_data_config
from timm.data.transforms_factory import create_transform
from pymilvus import MilvusClient
import os
from IPython.display import display
In [8] :
# -----------------------------------------------------------------------------

class FeatureExtractor:
    def __init__(self, modelname):
        # Load the pre-trained model
        self.model = timm.create_model(
            modelname, pretrained=True, num_classes=0, global_pool="avg"
        )
        self.model.eval()

        # Get the input size required by the model
        self.input_size = self.model.default_cfg["input_size"]

        config = resolve_data_config({}, model=modelname)
        # Get the preprocessing function provided by TIMM for the model
        self.preprocess = create_transform(**config)

    def __call__(self, imagepath):
        # Preprocess the input image
        input_image = Image.open(imagepath).convert("RGB")  # Convert to RGB if needed
        input_image = self.preprocess(input_image)

        # Convert the image to a PyTorch tensor and add a batch dimension
        input_tensor = input_image.unsqueeze(0)

        # Perform inference
        with torch.no_grad():
            output = self.model(input_tensor)

        # Extract the feature vector
        feature_vector = output.squeeze().numpy()

        return normalize(feature_vector.reshape(1, -1), norm="l2").flatten()
In [9] :
extractor = FeatureExtractor("resnet34")

# -----------------------------------------------------------------------------
# Constants - should be environment variables
# -----------------------------------------------------------------------------
DIMENSION = 512
MILVUS_URL = "http://192.168.1.163:19530"
COLLECTION_NAME = "pidetections"
BUCKET_NAME = "images"
DOWNLOAD_DIR = "/Users/timothyspann/Downloads/code/images/"
AWS_RESOURCE = "s3"
S3_ENDPOINT_URL = "http://192.168.1.163:9000"
AWS_ACCESS_KEY = "minioadmin"
AWS_SECRET_ACCESS_KEY = "minioadmin"
S3_SIGNATURE_VERSION = "s3v4"
AWS_REGION_NAME = "us-east-1"
S3_ERROR_MESSAGE = "Download failed"
# -----------------------------------------------------------------------------
In [10] :
# -----------------------------------------------------------------------------
# Connect to Milvus

# Local Docker Server
milvus_client = MilvusClient( uri=MILVUS_URL)
# -----------------------------------------------------------------------------
In [12] :
import os
import boto3
from botocore.client import Config
# -----------------------------------------------------------------------------
# Access Images on S3 Compatible Store - AWS S3 or Minio or ...
# -----------------------------------------------------------------------------
s3 = boto3.resource(AWS_RESOURCE,
endpoint_url=S3_ENDPOINT_URL,
aws_access_key_id=AWS_ACCESS_KEY,
aws_secret_access_key=AWS_SECRET_ACCESS_KEY,
config=Config(signature_version=S3_SIGNATURE_VERSION),
region_name=AWS_REGION_NAME)
bucket = s3.Bucket(BUCKET_NAME)
# -----------------------------------------------------------------------------
# Get last modified image
# -----------------------------------------------------------------------------
files = bucket.objects.filter()
files = [obj.key for obj in sorted(files, key=lambda x: x.last_modified,
reverse=True)]
for imagename in files:
query_image = imagename
break
search_image_name = DOWNLOAD_DIR + query_image
try:
s3.Bucket(BUCKET_NAME).download_file(query_image, search_image_name)
except botocore.exceptions.ClientError as e:
print(S3_ERROR_MESSAGE)
# -----------------------------------------------------------------------------
# Search Milvus for that vector and filter by a label
# -----------------------------------------------------------------------------
results = milvus_client.search(
COLLECTION_NAME,
data=[extractor(search_image_name)],
filter='label in ["keyboard"]',
output_fields=["label", "confidence", "id", "s3path", "filename"],
search_params={"metric_type": "COSINE"},
limit=5
)
# -----------------------------------------------------------------------------
# Iterate through last five results and display metadata and image
# -----------------------------------------------------------------------------
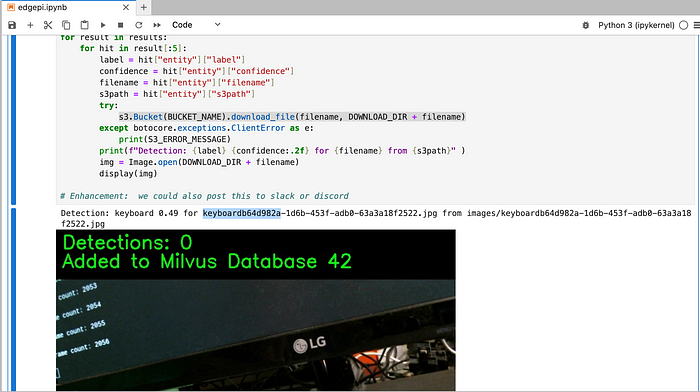
for result in results:
for hit in result[:5]:
label = hit["entity"]["label"]
confidence = hit["entity"]["confidence"]
filename = hit["entity"]["filename"]
s3path = hit["entity"]["s3path"]
try:
s3.Bucket(BUCKET_NAME).download_file(filename, DOWNLOAD_DIR + filename)
except botocore.exceptions.ClientError as e:
print(S3_ERROR_MESSAGE)
print(f"Detection: {label} {confidence:.2f} for {filename} from {s3path}" )
img = Image.open(DOWNLOAD_DIR + filename)
display(img)
# Enhancement: we could also post this to slack or discordFor detailed code, please see GitHub:
https://gist.github.com/tspannhw/8e2ec1293c1cff1edaefbf7fde54f47a#file-edgeaifind-ipynb
I have recorded this demo running so you can see what’s going on live.

If you acquire one and want to set it up to replicate my demo, please see the steps at the end of this article.
Demo Packing List
MinIO / S3, Milvus, Slack, Python, Boto3, OpenCV2, Pytorch, Sci-Kit Learn, TIMM, Hailo, YOLOv6n, Object Detection, Raspberry Pi AI Kit, Raspberry Pi 5 with 8GB RAM, logi webcam, resnet34, Torchvision, PyMilvus,
Hailo8L M.2 module, M.2 M-Key Hat, Heat Sink.
Getting Started
So after you have added the hardware (see the videos and links below), you install the libraries, reboot and you should be ready to go.
tspann@five:/opt/demo $
hailortcli fw-control identify

Executing on device: 0000:01:00.0
Identifying board
Control Protocol Version: 2
Firmware Version: 4.17.0 (release,app,extended context switch buffer)
Logger Version: 0
Board Name: Hailo-8
Device Architecture: HAILO8L
Serial Number: HLDDLBB241601635
Part Number: HM21LB1C2LAE
Product Name: HAILO-8L AI ACC M.2 B+M KEY MODULE EXT TMP

tspann@five:/opt/demo $
dmesg | grep -i hailo

[    3.155152] hailo: Init module. driver version 4.17.0
[    3.155295] hailo 0000:01:00.0: Probing on: 1e60:2864...
[    3.155301] hailo 0000:01:00.0: Probing: Allocate memory for device extension, 11600
[    3.155321] hailo 0000:01:00.0: enabling device (0000 -> 0002)
[    3.155327] hailo 0000:01:00.0: Probing: Device enabled
[    3.155350] hailo 0000:01:00.0: Probing: mapped bar 0 - 0000000095e362ea 16384
[    3.155357] hailo 0000:01:00.0: Probing: mapped bar 2 - 000000005e2b2b7e 4096
[    3.155362] hailo 0000:01:00.0: Probing: mapped bar 4 - 000000008db50d03 16384
[    3.155365] hailo 0000:01:00.0: Probing: Force setting max_desc_page_size to 4096 (recommended value is 16384)
[    3.155375] hailo 0000:01:00.0: Probing: Enabled 64 bit dma
[    3.155378] hailo 0000:01:00.0: Probing: Using userspace allocated vdma buffers
[    3.155382] hailo 0000:01:00.0: Disabling ASPM L0s
[    3.155385] hailo 0000:01:00.0: Successfully disabled ASPM L0s
[    3.417111] hailo 0000:01:00.0: Firmware was loaded successfully
[    3.427885] hailo 0000:01:00.0: Probing: Added board 1e60-2864, /dev/hailo0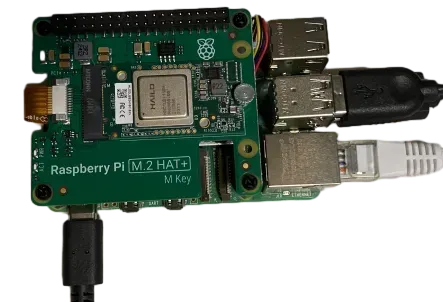
Example Code
https://github.com/hailo-ai/hailo-rpi5-examples?source=post_page-----c959dd7fff47--------------------------------
Model Zoo
https://github.com/hailo-ai/hailo_model_zoo/tree/master/docs/public_models/HAILO8L?source=post_page-----c959dd7fff47--------------------------------
Additional instructions
gst-inspect-1.0 hailotools
lspci | grep Hailo
uname -a
v4l2-ctl --list-formats-ext -d /dev/video0
ls /dev/video*
ffplay -f v4l2 /dev/video0
resource
How to set up your Raspberry Pi 5 and Hailo:
https://github.com/hailo-ai/hailo-rpi5-examples/blob/main/doc/install-raspberry-pi5.md?source=post_page-----c959dd7fff47--------------------------------#how-to-set-up-raspberry-pi-5-and-hailo-8l
RPI5-Hailo8L Getting Started Guide:
https://community.hailo.ai/t/getting-started-with-rpi5-hailo8l/740?source=post_page-----c959dd7fff47--------------------------------
Original link: https://medium.com/@tspann/unstructured-data-processing-with-a-raspberry-pi-ai-kit-c959dd7fff47


