


 En
En

The summer, and Louis Wood’s internship with our Maker in Residence, was creeping to a close without his final build making it off the ground. But as if by magic, on his very last day, Louis got his handmade drone flying.
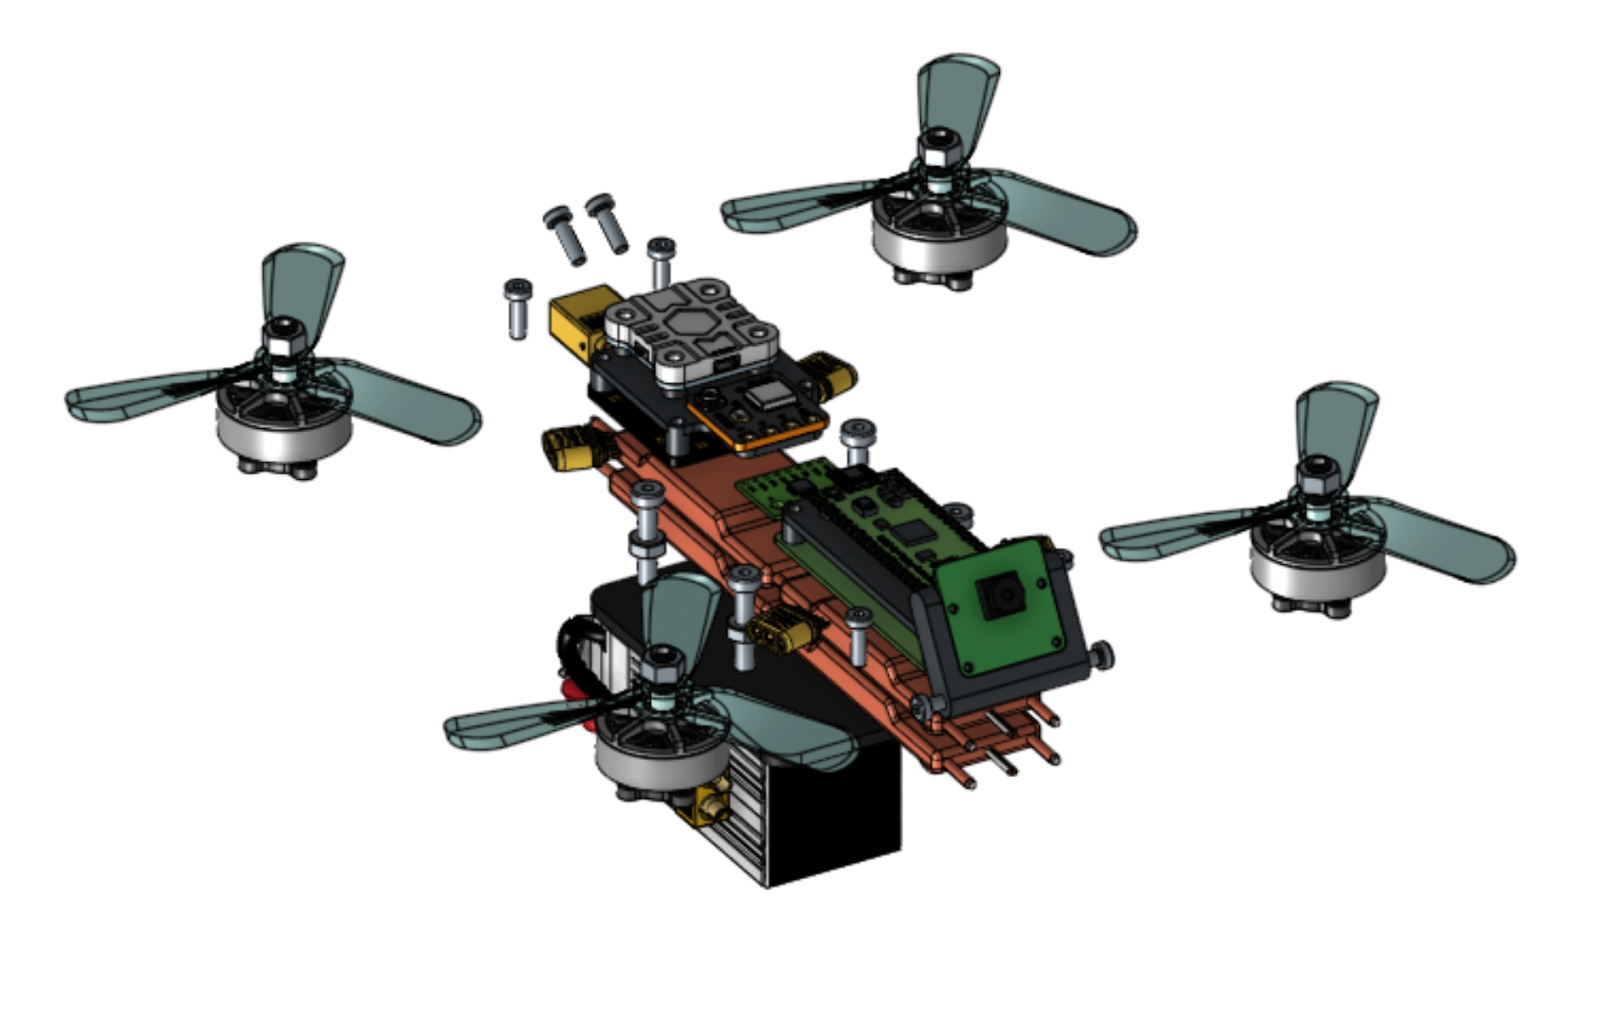
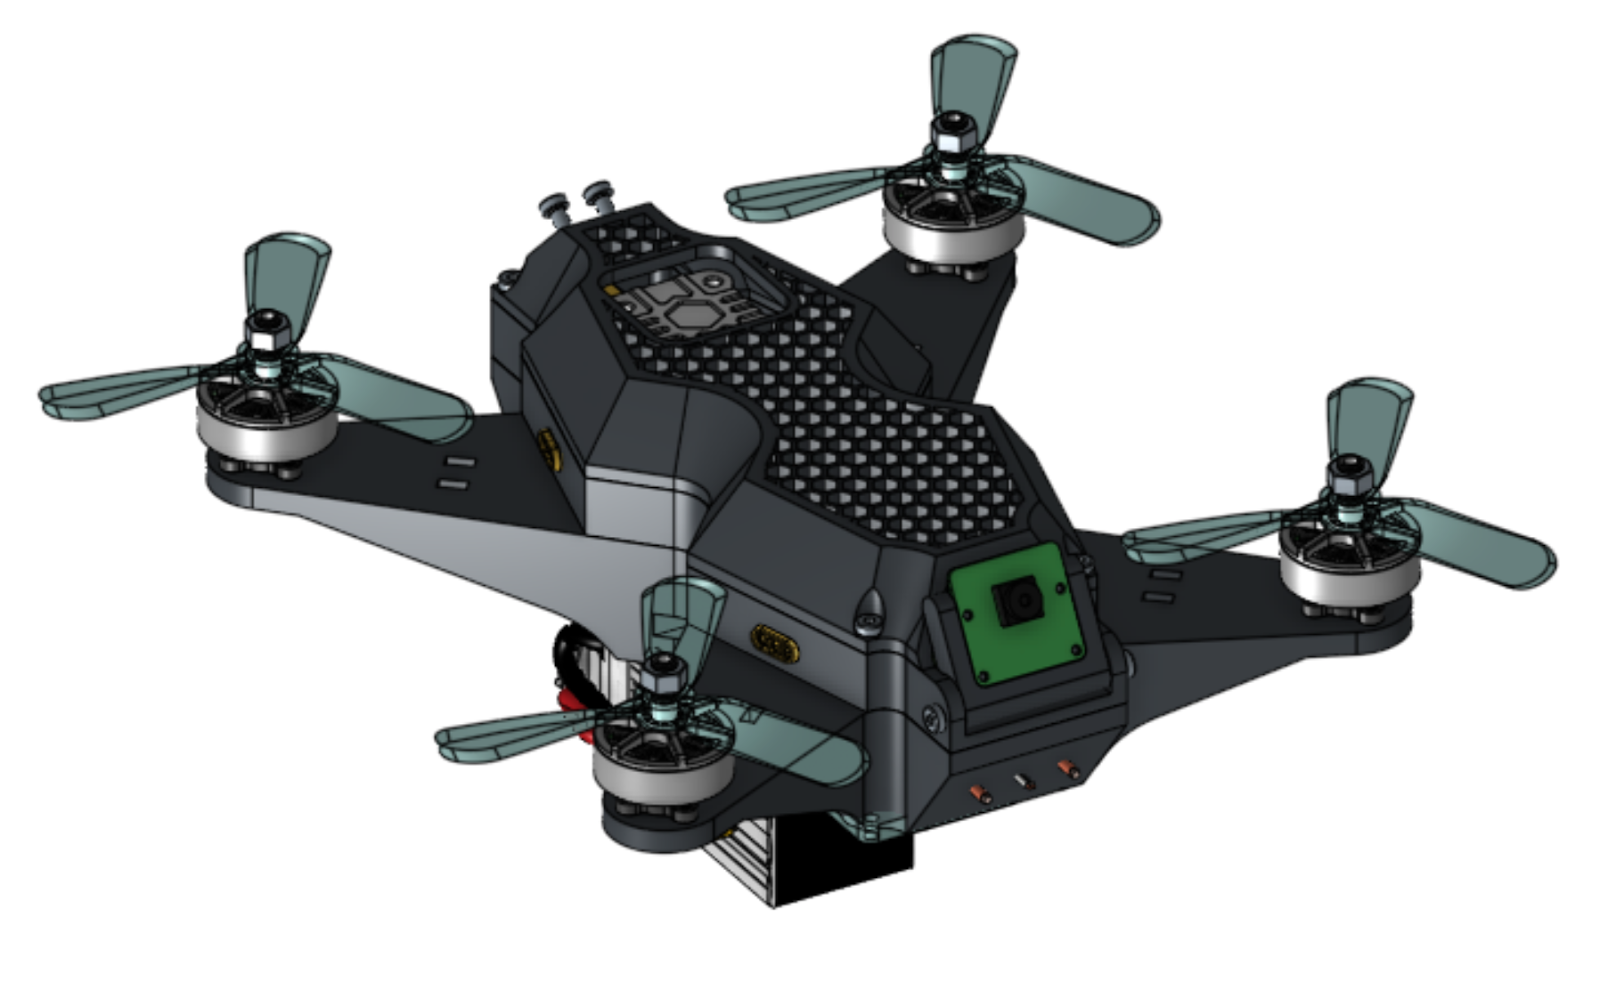
3D-printed CAD design
The journey of building a custom drone began with designing in CAD software. My initial design was fully 3D-printed with an enclosed structure and cantilevered arms to support point forces. The honeycomb lid provided cooling, and the enclosure allowed for embedded XT-60 and MR-30 connections, creating a clean and integrated look. Inside, I ensured all electrical components were rigidly mounted to avoid unwanted movement that could destabilise the flight.
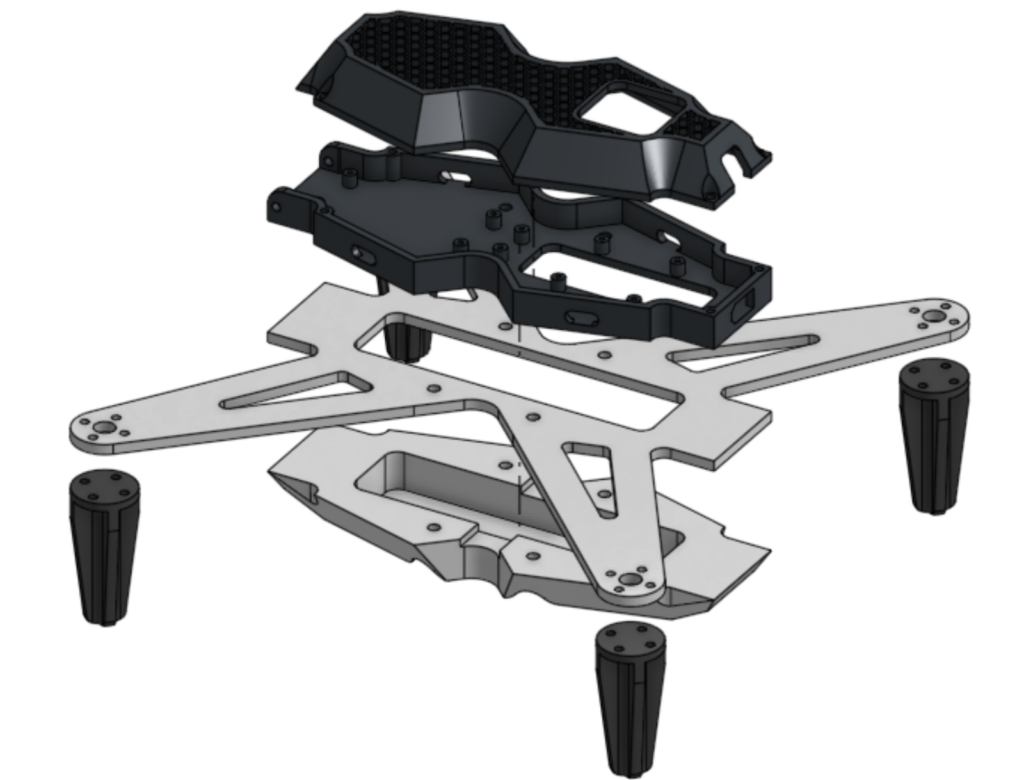
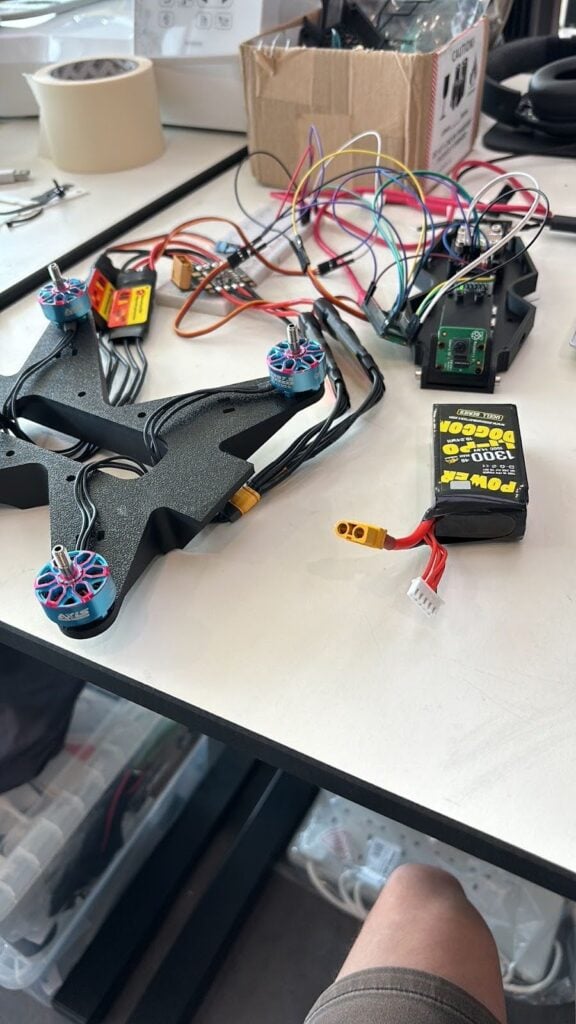
Testing quickly revealed that 3D-printed frames were brittle, often breaking during crashes. Moreover, the limitations of my printer’s build area meant that motor placement was cramped. To overcome these issues, I CNC-routed a new frame from 4 mm carbon fibre, increasing the wheelbase for better stability. Using Carveco software, I generated toolpaths and cut the frame on a WorkBee CNC in our Maker Lab. After two hours, I had a sturdy, assembled frame ready for electronics.
Not one, not two, but three Raspberry Pis
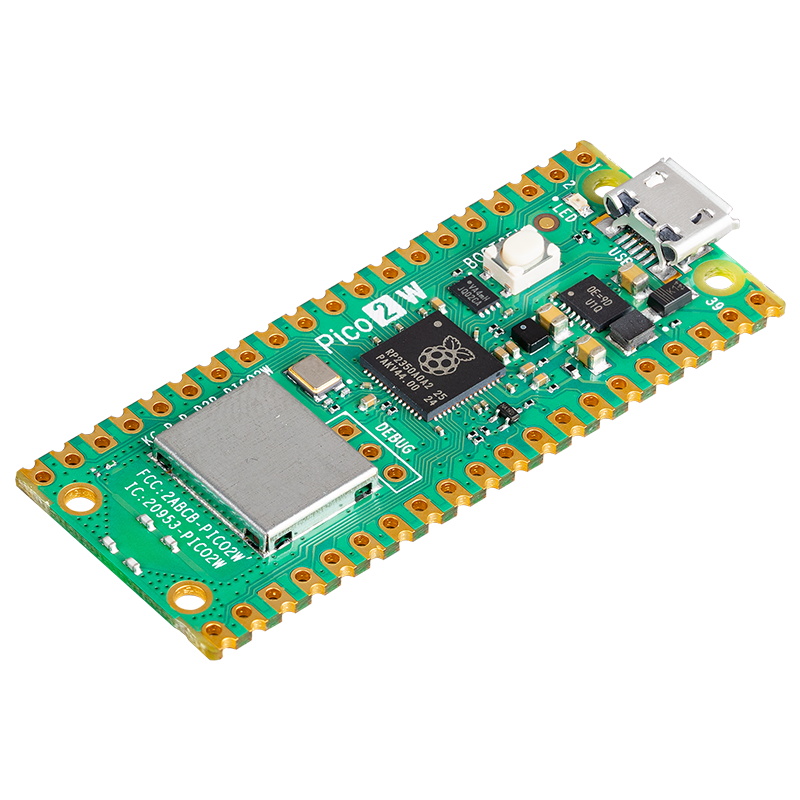
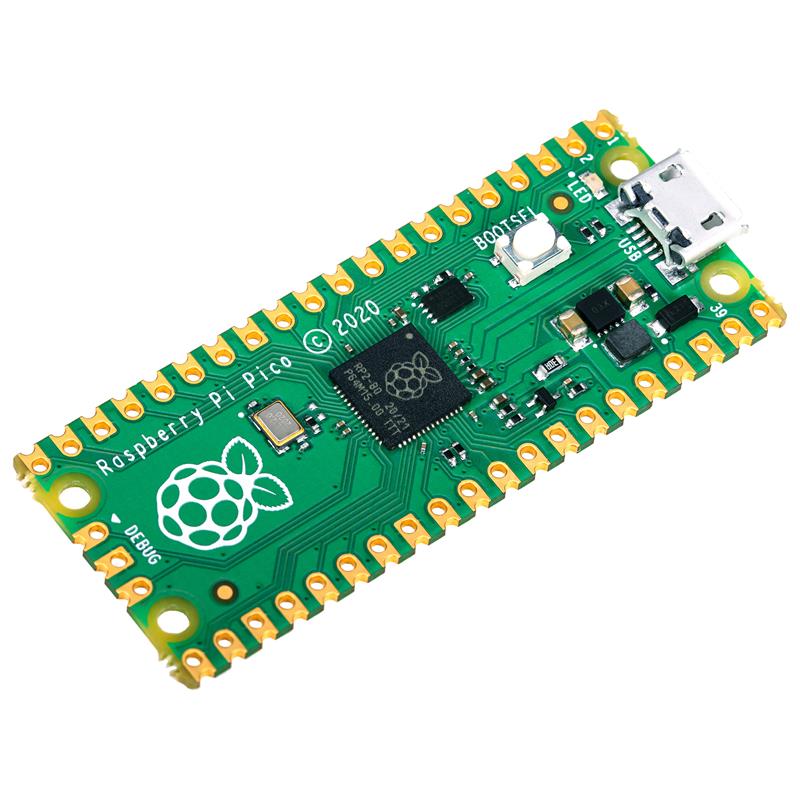
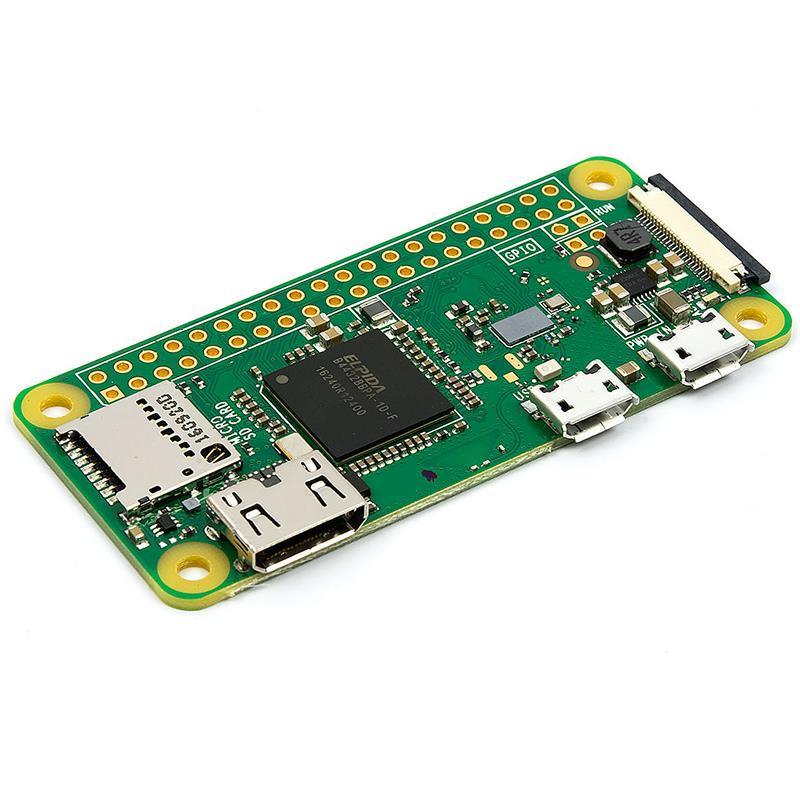
For the drone’s brain, I used a Raspberry Pi Pico 2 connected to an MPU6050 gyroscope for real-time orientation data and an IBUS protocol receiver for streamlined control inputs. Initially, I faced issues with signal processing due to the delay of handling five separate PWM signals. Switching to IBUS sped up the loop frequency by tenfold, which greatly improved flight response. The Pico handled PID (Proportional-Integral-Derivative) calculations for stability, and a 4-in-1 ESC managed the motor signals. The drone also carries a Raspberry Pi Zero with a Camera Module 2 and an analogue VTX for real-time FPV (first-person view) flying.
Programming was based on Tim Hanewich’s Scout flight controller code, implementing a ‘rate’ mode controller that uses PID values to maintain desired angular velocities. Fine-tuning the PID gains was essential; improper settings could lead to instability and dangerous oscillations. I followed a careful tuning process, starting with low values for each parameter and slowly increasing them.
Tim Hanewich 的 Scout飞行控制器代码:https://github.com/TimHanewich/scout
To make the process safer, I constructed a testing rig to isolate each axis and simulate flight conditions. This allowed me to achieve a rough tune before moving on to actual flight tests, ultimately ensuring the drone’s safe and stable performance.
原文链接: https://www.raspberrypi.com/news/building-a-raspberry-pi-pico-2-powered-drone-from-scratch/


