


 中文
中文

使用 Raspberry Pi AI 套件进行非结构化数据处理——Hailo边缘AI
非结构化数据处理、Raspberry Pi 5、Raspberry Pi AI套件、Milvus、Zilliz、数据、图像、计算机视觉、深度学习、Python
在边缘实时相机流中检测、显示和存储检测到的图像
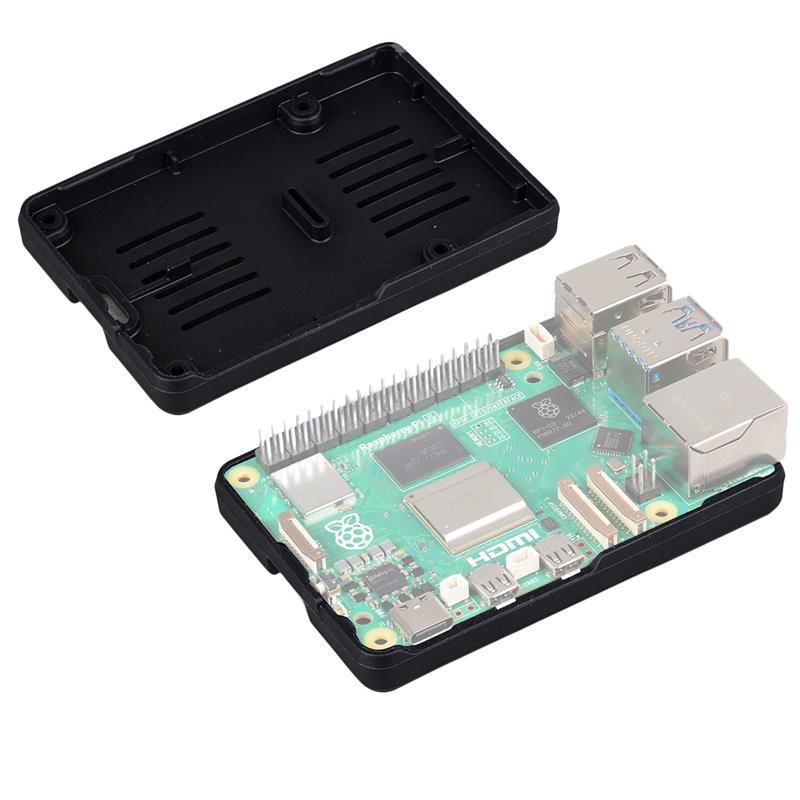
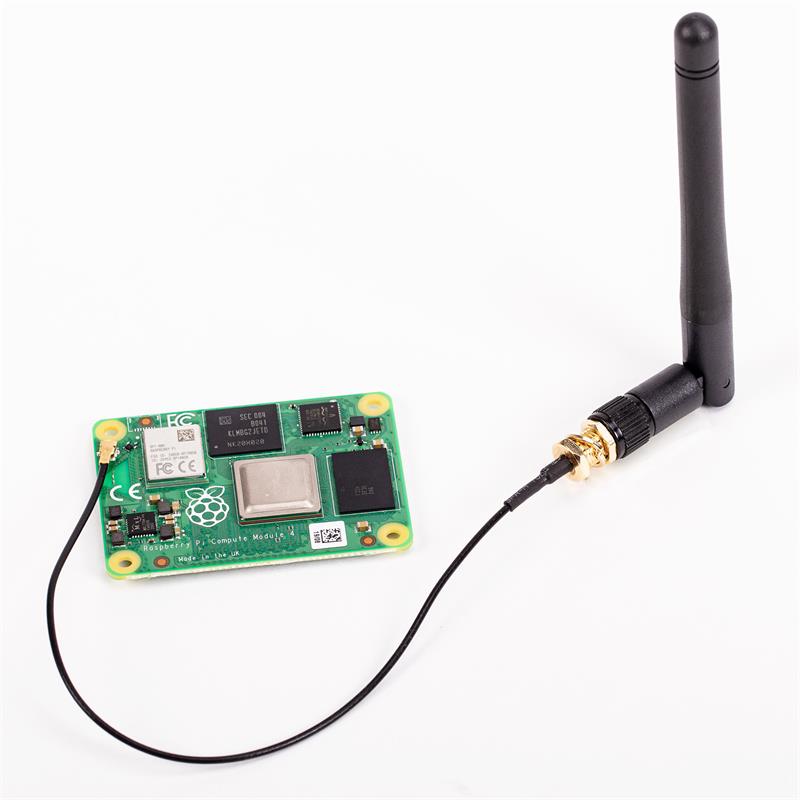
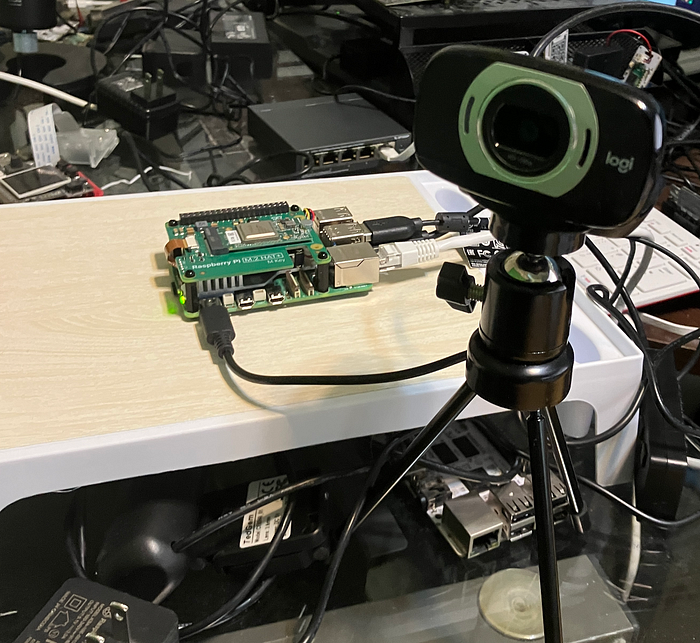
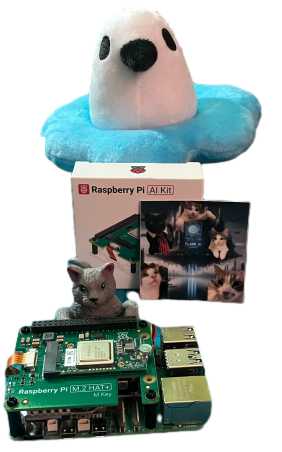
即使预算有限,你也可以利用像配备8GB内存的Raspberry Pi 5和NVIDIA Jetson Orin Nano这样的强大设备,开始构建一些边缘AI用例。最近,针对RPI5平台的Raspberry Pi AI套件发布了,所以我必须入手一个并尝试一下。
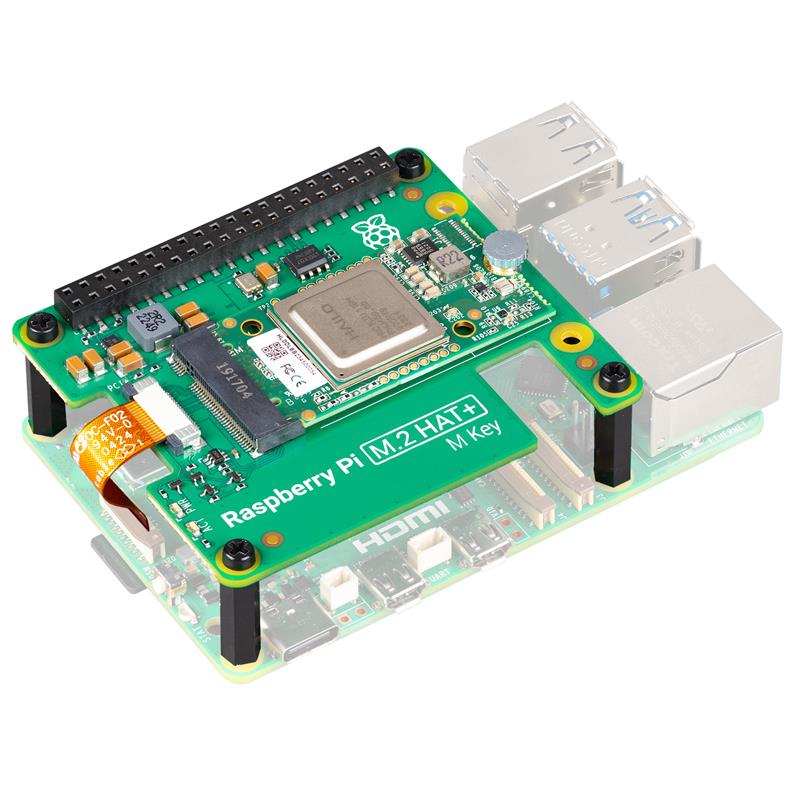
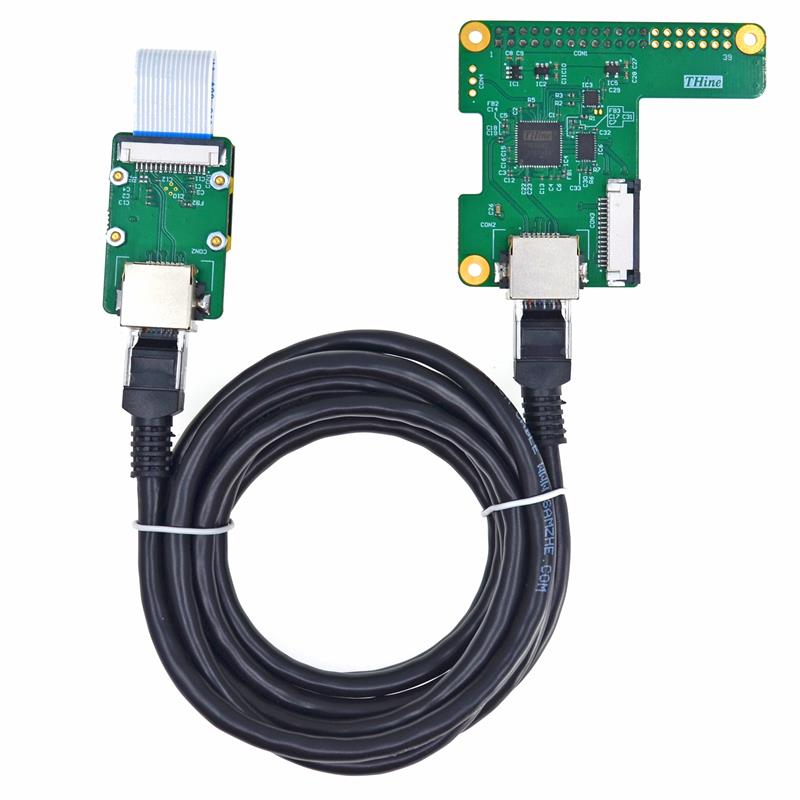
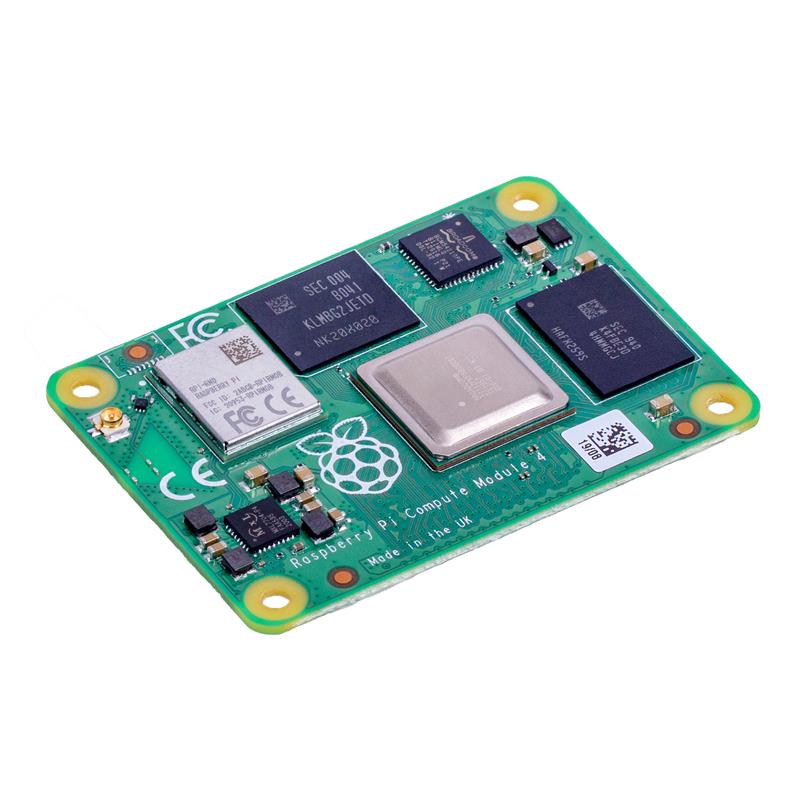
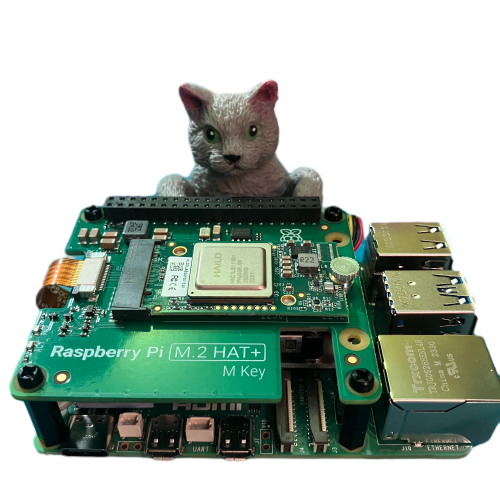
AI套件增加了一个神经网络推理加速器,其性能可达每秒13万亿次操作(TOPS),对于70美元的价格来说,这相当不错。连接到这个M.2 Hat的是Hailo-8L M.2入门级加速模块,它将为我们提供AI能力。
在第一次演示中,我修改了提供的RPI5 Hailo AI Python示例之一,以对网络摄像头进行实时图像检测,然后将检测结果发送到Slack频道,更重要的是,将检测结果与元数据一起向量化并存储到Milvus中。
在Raspberry Pi 5上实时运行
我们使用了Hailo提供的RPI5对象检测程序示例,并对其进行了增强,以便将结果发送到Slack、MiNio和Milvus。
因此,我们使用了示例对象检测程序,但首先我为Slack、Milvus、S3、TIMM、Sci-Kit Learn、Pytorch和UUID库添加了一些导入语句。 我还设置了一些稍后要使用的常量。 然后,我们连接到我们的Milvus服务器和Slack频道,并开始GStreamer循环。我设置了一个时间检查,如果检测到内容,我会将相机帧保存到文件中,然后上传到S3并发送到我的Slack频道。 最后,我添加了向量化的图像以及S3路径、文件名、标签和置信度等重要元数据。 我们的集合中的每个条目都会获得一个自动生成的ID。
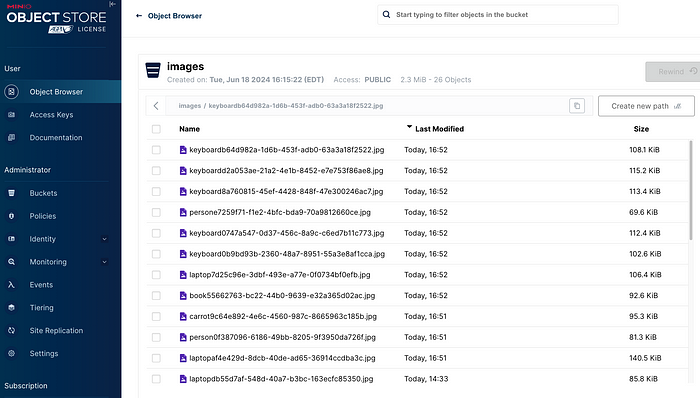
我们的图像已经上传到MinIO:
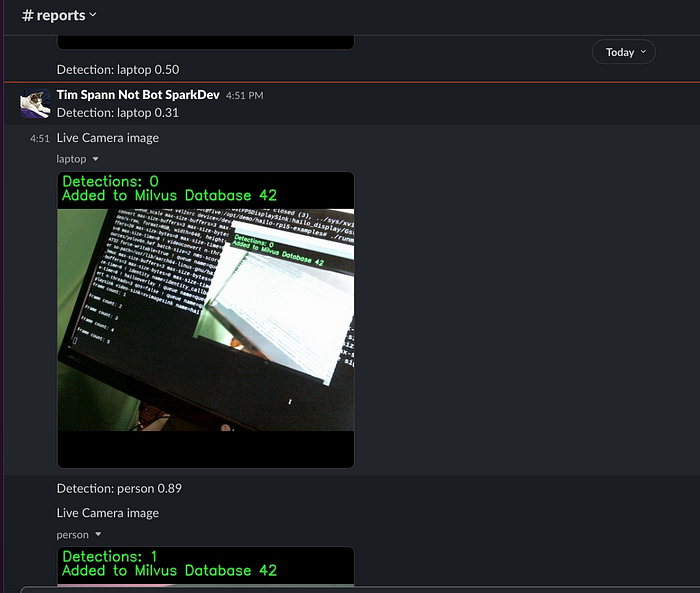
它们也已随我们的文本消息发送到我们的#reports Slack频道。
最重要的是,我们的元数据和向量已经上传,并且已经可以用于超快速搜索。

现在我们可以开始查询我们的向量,我会通过Jupyter笔记本向你展示如何操作
查询数据库并显示图像
加载
在 [1] 中:
!pip install boto3Requirement already satisfied: boto3 in ./milvusvenv/lib/python3.12/site-packages (1.34.129)
Requirement already satisfied: botocore<1.35.0,>=1.34.129 in ./milvusvenv/lib/python3.12/site-packages (from boto3) (1.34.129)
Requirement already satisfied: jmespath<2.0.0,>=0.7.1 in ./milvusvenv/lib/python3.12/site-packages (from boto3) (1.0.1)
Requirement already satisfied: s3transfer<0.11.0,>=0.10.0 in ./milvusvenv/lib/python3.12/site-packages (from boto3) (0.10.1)
Requirement already satisfied: python-dateutil<3.0.0,>=2.1 in ./milvusvenv/lib/python3.12/site-packages (from botocore<1.35.0,>=1.34.129->boto3) (2.9.0.post0)
Requirement already satisfied: urllib3!=2.2.0,<3,>=1.25.4 in ./milvusvenv/lib/python3.12/site-packages (from botocore<1.35.0,>=1.34.129->boto3) (2.2.1)
Requirement already satisfied: six>=1.5 in ./milvusvenv/lib/python3.12/site-packages (from python-dateutil<3.0.0,>=2.1->botocore<1.35.0,>=1.34.129->boto3) (1.16.0)在 [5] 中:
from __future__ import print_function
import requests
import sys
import io
import json
import shutil
import sys
import datetime
import subprocess
import sys
import os
import math
import base64
from time import gmtime, strftime
import random, string
import time
import psutil
import base64
import uuid
import socket
import os
from pymilvus import connections
from pymilvus import utility
from pymilvus import FieldSchema, CollectionSchema, DataType, Collection
import torch
from torchvision import transforms
from PIL import Image
import timm
from sklearn.preprocessing import normalize
from timm.data import resolve_data_config
from timm.data.transforms_factory import create_transform
from pymilvus import MilvusClient
import os
from IPython.display import display
在 [6] 中:
from __future__ import print_function
import requests
import sys
import io
import json
import shutil
import sys
import datetime
import subprocess
import sys
import os
import math
import base64
from time import gmtime, strftime
import random, string
import time
import psutil
import base64
import uuid
import socket
import os
from pymilvus import connections
from pymilvus import utility
from pymilvus import FieldSchema, CollectionSchema, DataType, Collection
import torch
from torchvision import transforms
from PIL import Image
import timm
from sklearn.preprocessing import normalize
from timm.data import resolve_data_config
from timm.data.transforms_factory import create_transform
from pymilvus import MilvusClient
import os
from IPython.display import display
在 [8] 中:
# -----------------------------------------------------------------------------

class FeatureExtractor:
    def __init__(self, modelname):
        # Load the pre-trained model
        self.model = timm.create_model(
            modelname, pretrained=True, num_classes=0, global_pool="avg"
        )
        self.model.eval()

        # Get the input size required by the model
        self.input_size = self.model.default_cfg["input_size"]

        config = resolve_data_config({}, model=modelname)
        # Get the preprocessing function provided by TIMM for the model
        self.preprocess = create_transform(**config)

    def __call__(self, imagepath):
        # Preprocess the input image
        input_image = Image.open(imagepath).convert("RGB")  # Convert to RGB if needed
        input_image = self.preprocess(input_image)

        # Convert the image to a PyTorch tensor and add a batch dimension
        input_tensor = input_image.unsqueeze(0)

        # Perform inference
        with torch.no_grad():
            output = self.model(input_tensor)

        # Extract the feature vector
        feature_vector = output.squeeze().numpy()

        return normalize(feature_vector.reshape(1, -1), norm="l2").flatten()
在 [9] 中:
extractor = FeatureExtractor("resnet34")

# -----------------------------------------------------------------------------
# Constants - should be environment variables
# -----------------------------------------------------------------------------
DIMENSION = 512
MILVUS_URL = "http://192.168.1.163:19530"
COLLECTION_NAME = "pidetections"
BUCKET_NAME = "images"
DOWNLOAD_DIR = "/Users/timothyspann/Downloads/code/images/"
AWS_RESOURCE = "s3"
S3_ENDPOINT_URL = "http://192.168.1.163:9000"
AWS_ACCESS_KEY = "minioadmin"
AWS_SECRET_ACCESS_KEY = "minioadmin"
S3_SIGNATURE_VERSION = "s3v4"
AWS_REGION_NAME = "us-east-1"
S3_ERROR_MESSAGE = "Download failed"
# -----------------------------------------------------------------------------
在 [10] 中:
# -----------------------------------------------------------------------------
# Connect to Milvus

# Local Docker Server
milvus_client = MilvusClient( uri=MILVUS_URL)
# -----------------------------------------------------------------------------
在 [12] 中:
import os
import boto3
from botocore.client import Config
# -----------------------------------------------------------------------------
# Access Images on S3 Compatible Store - AWS S3 or Minio or ...
# -----------------------------------------------------------------------------
s3 = boto3.resource(AWS_RESOURCE,
endpoint_url=S3_ENDPOINT_URL,
aws_access_key_id=AWS_ACCESS_KEY,
aws_secret_access_key=AWS_SECRET_ACCESS_KEY,
config=Config(signature_version=S3_SIGNATURE_VERSION),
region_name=AWS_REGION_NAME)
bucket = s3.Bucket(BUCKET_NAME)
# -----------------------------------------------------------------------------
# Get last modified image
# -----------------------------------------------------------------------------
files = bucket.objects.filter()
files = [obj.key for obj in sorted(files, key=lambda x: x.last_modified,
reverse=True)]
for imagename in files:
query_image = imagename
break
search_image_name = DOWNLOAD_DIR + query_image
try:
s3.Bucket(BUCKET_NAME).download_file(query_image, search_image_name)
except botocore.exceptions.ClientError as e:
print(S3_ERROR_MESSAGE)
# -----------------------------------------------------------------------------
# Search Milvus for that vector and filter by a label
# -----------------------------------------------------------------------------
results = milvus_client.search(
COLLECTION_NAME,
data=[extractor(search_image_name)],
filter='label in ["keyboard"]',
output_fields=["label", "confidence", "id", "s3path", "filename"],
search_params={"metric_type": "COSINE"},
limit=5
)
# -----------------------------------------------------------------------------
# Iterate through last five results and display metadata and image
# -----------------------------------------------------------------------------
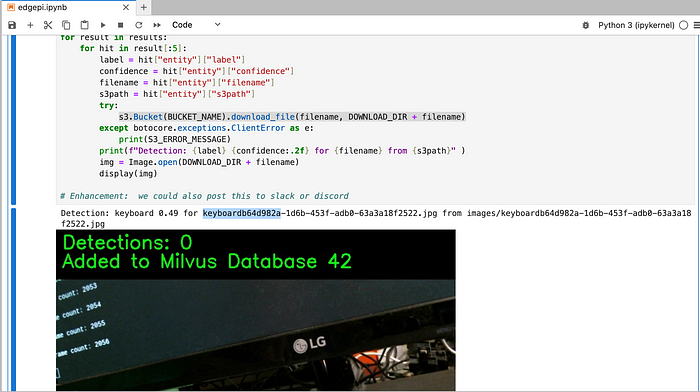
for result in results:
for hit in result[:5]:
label = hit["entity"]["label"]
confidence = hit["entity"]["confidence"]
filename = hit["entity"]["filename"]
s3path = hit["entity"]["s3path"]
try:
s3.Bucket(BUCKET_NAME).download_file(filename, DOWNLOAD_DIR + filename)
except botocore.exceptions.ClientError as e:
print(S3_ERROR_MESSAGE)
print(f"Detection: {label} {confidence:.2f} for {filename} from {s3path}" )
img = Image.open(DOWNLOAD_DIR + filename)
display(img)
# Enhancement: we could also post this to slack or discord详细代码请查看 GitHub:
https://gist.github.com/tspannhw/8e2ec1293c1cff1edaefbf7fde54f47a#file-edgeaifind-ipynb
 我已经录制了这个演示的运行过程,所以你可以看到实时的操作情况。

如果你购买了一个并想设置它以复制我的演示,请参阅本文末尾的步骤。
演示打包清单
MinIO/S3、Milvus、Slack、Python、Boto3、OpenCV2、Pytorch、Sci-Kit Learn、TIMM、Hailo、YOLOv6n、对象检测、Raspberry PiAI套件、配备8GB内存的Raspberry Pi5、logi网络摄像头、resnet34、Torchvision、PyMilvus、Hailo8L M.2模块、M.2 M-Key Hat、散热片。
入门指南
添加硬件(请参阅下面的视频和链接)后,安装库,重启,然后你就应该准备好了。
tspann@five:/opt/demo $
hailortcli fw-control identify

Executing on device: 0000:01:00.0
Identifying board
Control Protocol Version: 2
Firmware Version: 4.17.0 (release,app,extended context switch buffer)
Logger Version: 0
Board Name: Hailo-8
Device Architecture: HAILO8L
Serial Number: HLDDLBB241601635
Part Number: HM21LB1C2LAE
Product Name: HAILO-8L AI ACC M.2 B+M KEY MODULE EXT TMP

tspann@five:/opt/demo $
dmesg | grep -i hailo

[    3.155152] hailo: Init module. driver version 4.17.0
[    3.155295] hailo 0000:01:00.0: Probing on: 1e60:2864...
[    3.155301] hailo 0000:01:00.0: Probing: Allocate memory for device extension, 11600
[    3.155321] hailo 0000:01:00.0: enabling device (0000 -> 0002)
[    3.155327] hailo 0000:01:00.0: Probing: Device enabled
[    3.155350] hailo 0000:01:00.0: Probing: mapped bar 0 - 0000000095e362ea 16384
[    3.155357] hailo 0000:01:00.0: Probing: mapped bar 2 - 000000005e2b2b7e 4096
[    3.155362] hailo 0000:01:00.0: Probing: mapped bar 4 - 000000008db50d03 16384
[    3.155365] hailo 0000:01:00.0: Probing: Force setting max_desc_page_size to 4096 (recommended value is 16384)
[    3.155375] hailo 0000:01:00.0: Probing: Enabled 64 bit dma
[    3.155378] hailo 0000:01:00.0: Probing: Using userspace allocated vdma buffers
[    3.155382] hailo 0000:01:00.0: Disabling ASPM L0s
[    3.155385] hailo 0000:01:00.0: Successfully disabled ASPM L0s
[    3.417111] hailo 0000:01:00.0: Firmware was loaded successfully
[    3.427885] hailo 0000:01:00.0: Probing: Added board 1e60-2864, /dev/hailo0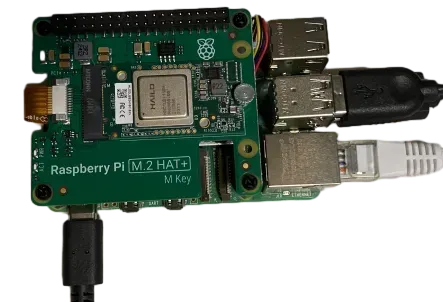
示例代码
https://github.com/hailo-ai/hailo-rpi5-examples?source=post_page-----c959dd7fff47--------------------------------
动物园模型
https://github.com/hailo-ai/hailo_model_zoo/tree/master/docs/public_models/HAILO8L?source=post_page-----c959dd7fff47--------------------------------
额外指令
gst-inspect-1.0 hailotools
lspci | grep Hailo
uname -a
v4l2-ctl --list-formats-ext -d /dev/video0
ls /dev/video*
ffplay -f v4l2 /dev/video0
资源
如何设置 Raspberry Pi 5 和 Hailo:
https://github.com/hailo-ai/hailo-rpi5-examples/blob/main/doc/install-raspberry-pi5.md?source=post_page-----c959dd7fff47--------------------------------#how-to-set-up-raspberry-pi-5-and-hailo-8l
RPI5-Hailo8L 入门指南:
https://community.hailo.ai/t/getting-started-with-rpi5-hailo8l/740?source=post_page-----c959dd7fff47--------------------------------
原文链接: https://medium.com/@tspann/unstructured-data-processing-with-a-raspberry-pi-ai-kit-c959dd7fff47


