
使用机器学习的应用程序通常需要高计算能力。 这些计算通常发生在显卡的GPU上。Raspberry Pi并不专门设计用于运行计算密集型应用程序。但Google Coral USB加速器能在此提供帮助!借助此设备,我们可以在视频中实现实时计算,如对象识别。
在本教程中,我们将探讨如何在Raspberry Pi上集成和使用Google Coral。然后,我们将利用Raspberry Pi摄像头中的视频流创建实时对象检测。
所需硬件部件
我在本教程中使用了以下硬件部件。 许多组件在之前的教程中已经使用过。
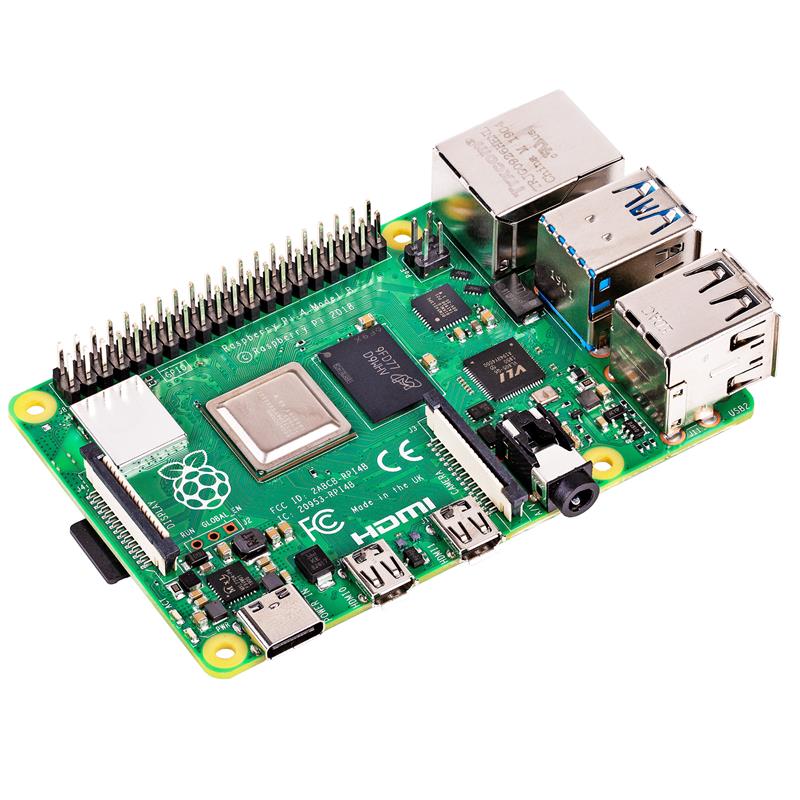
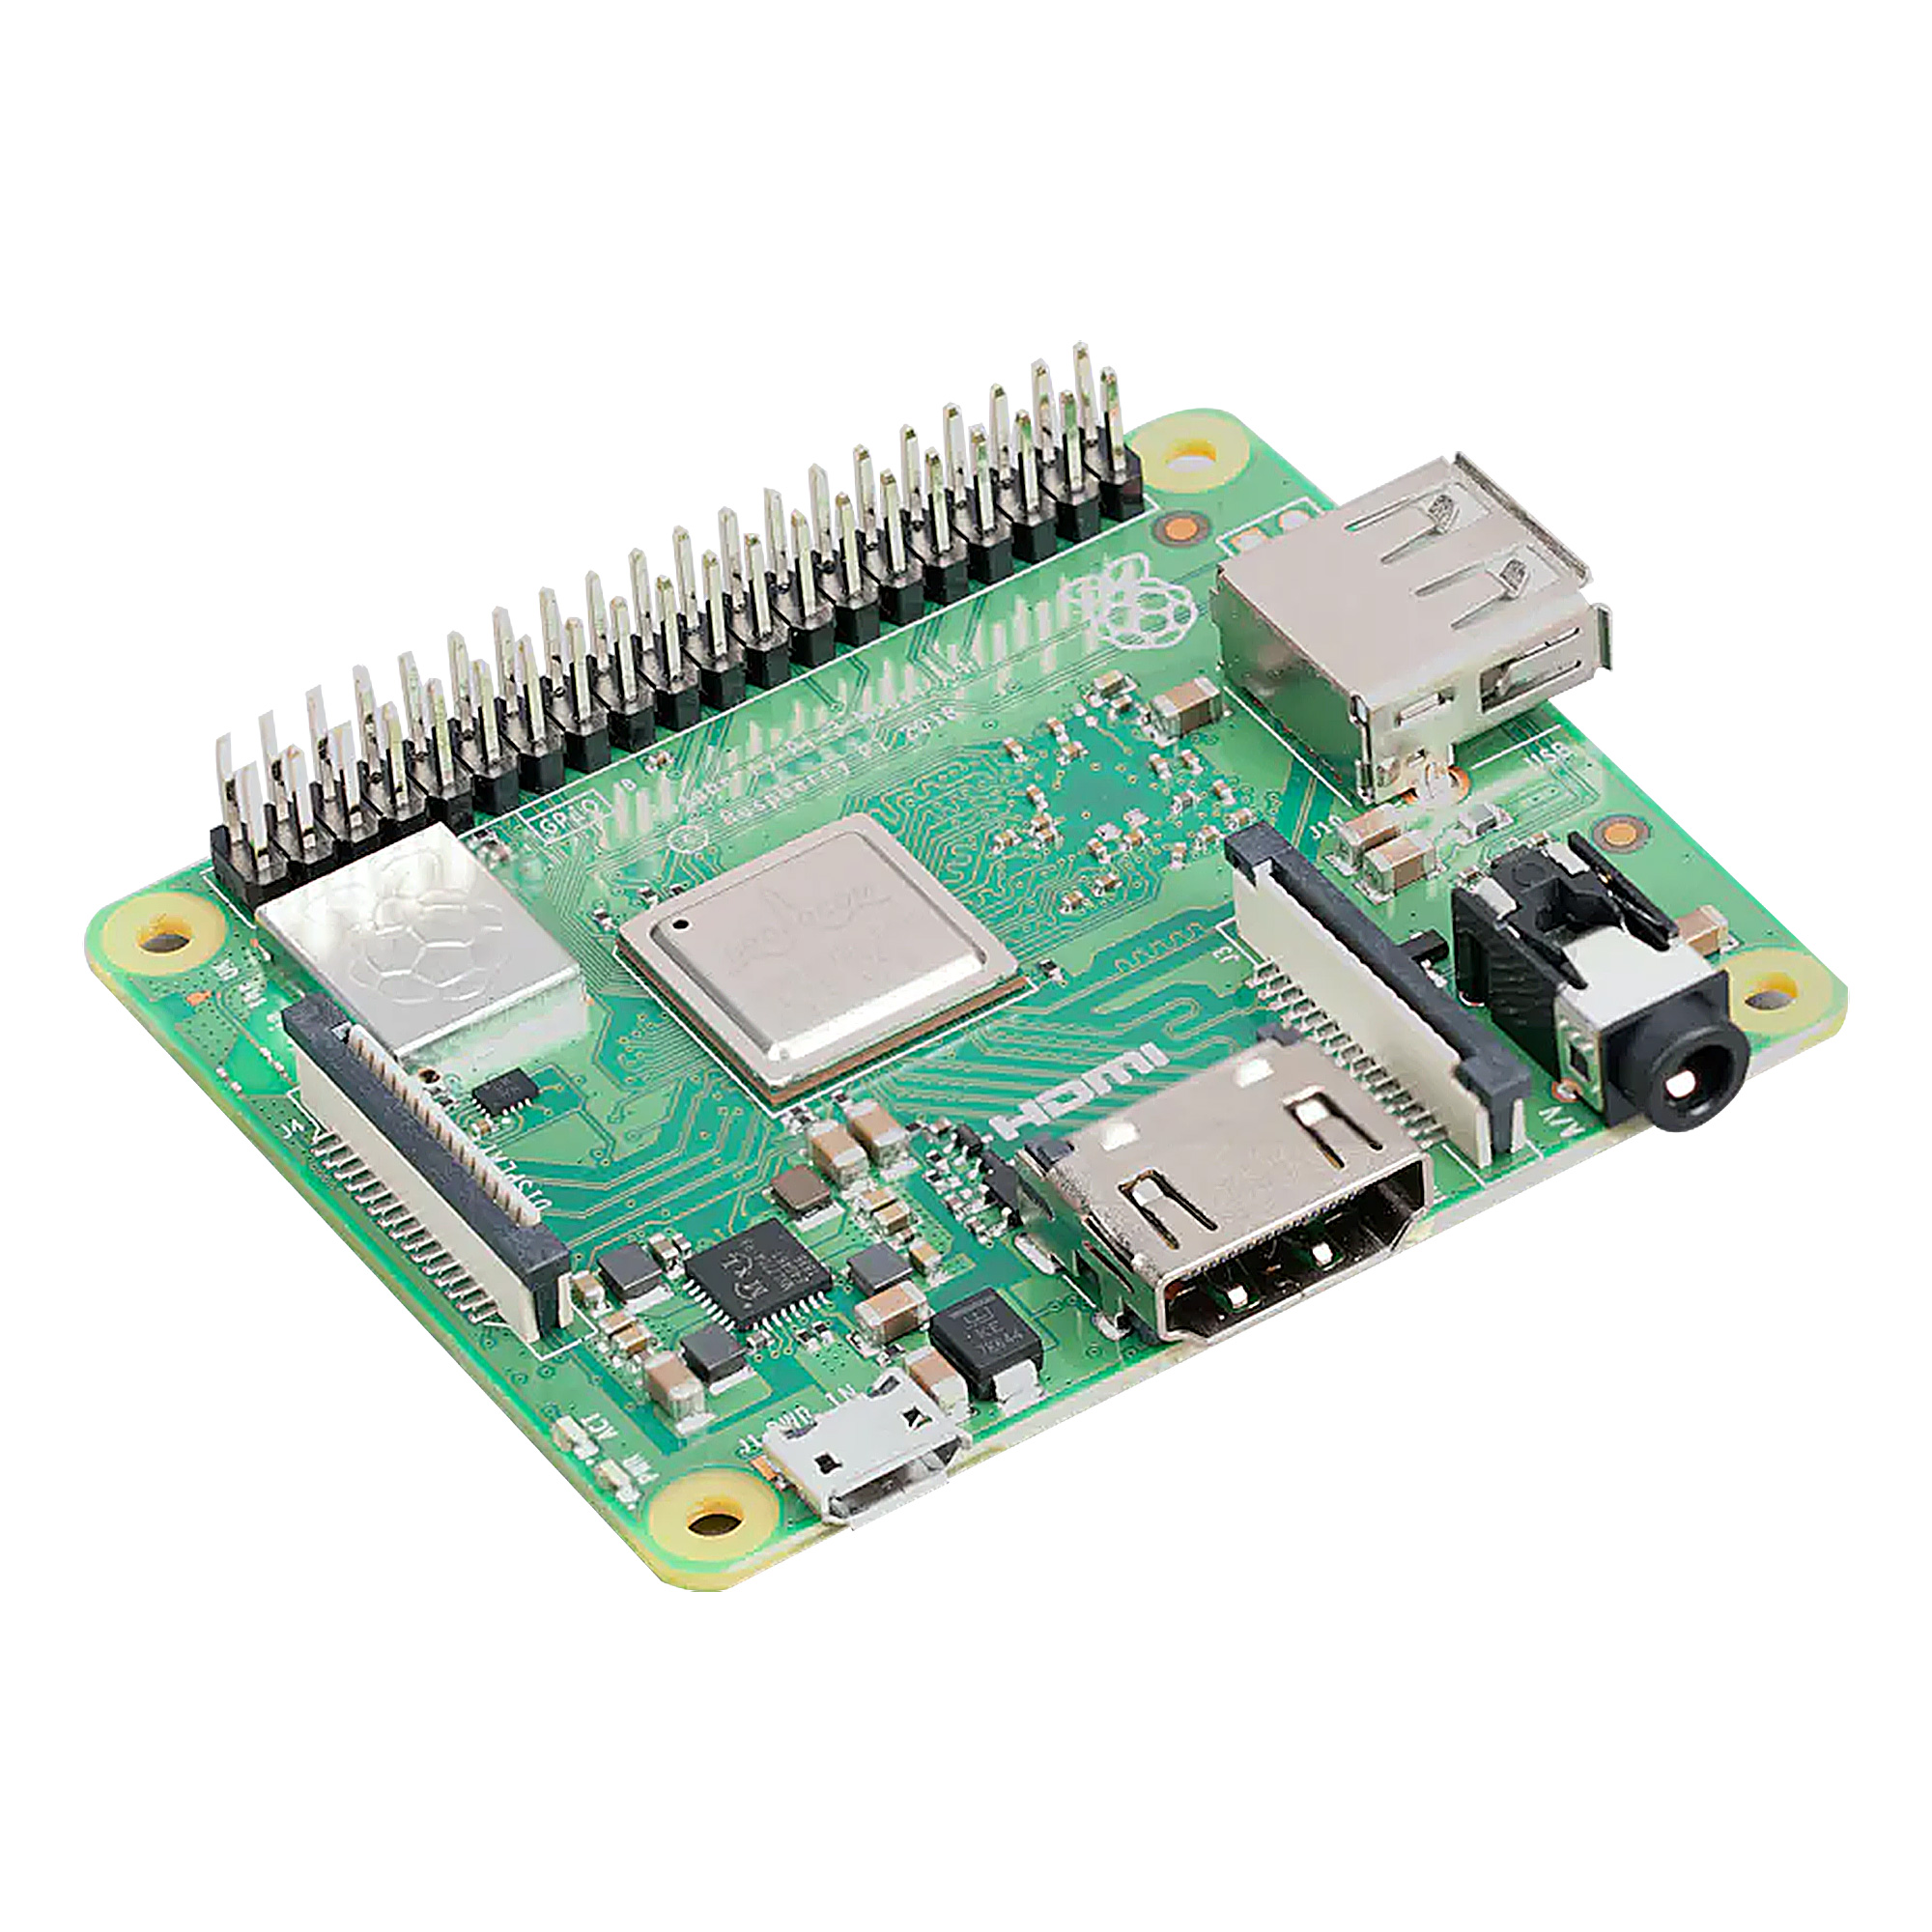
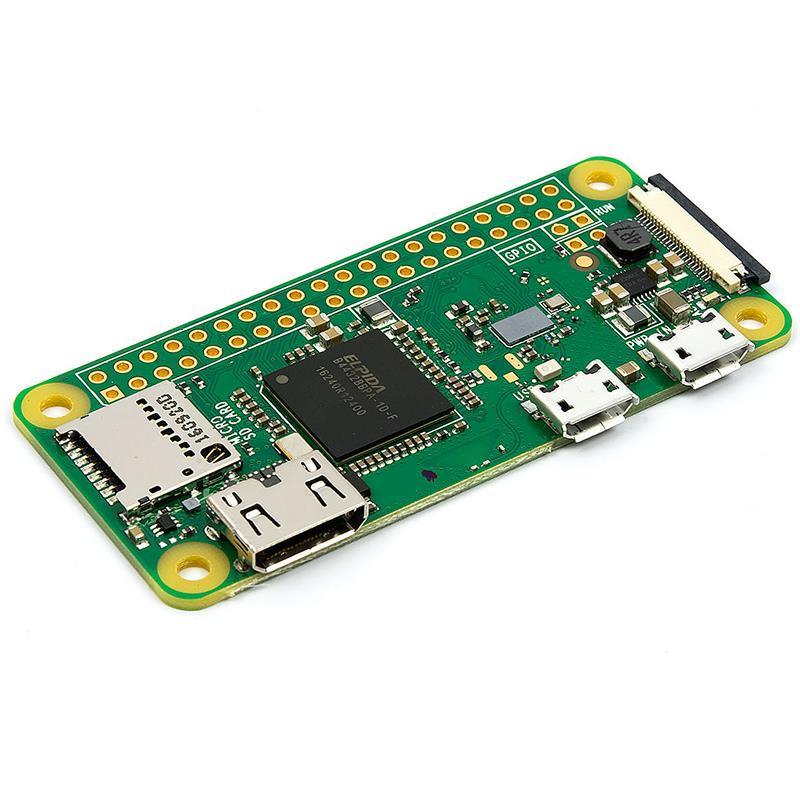
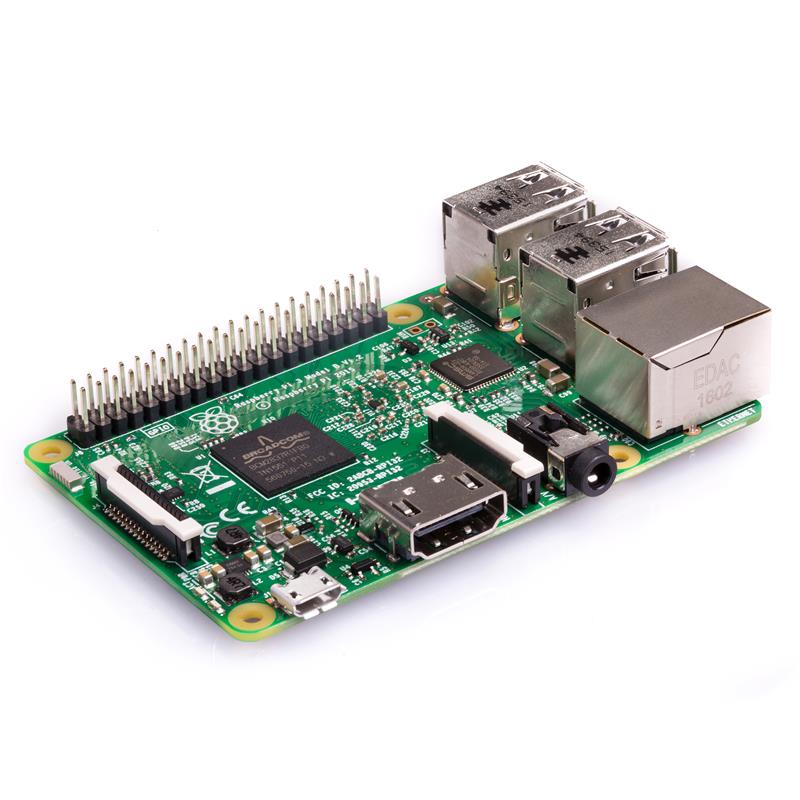
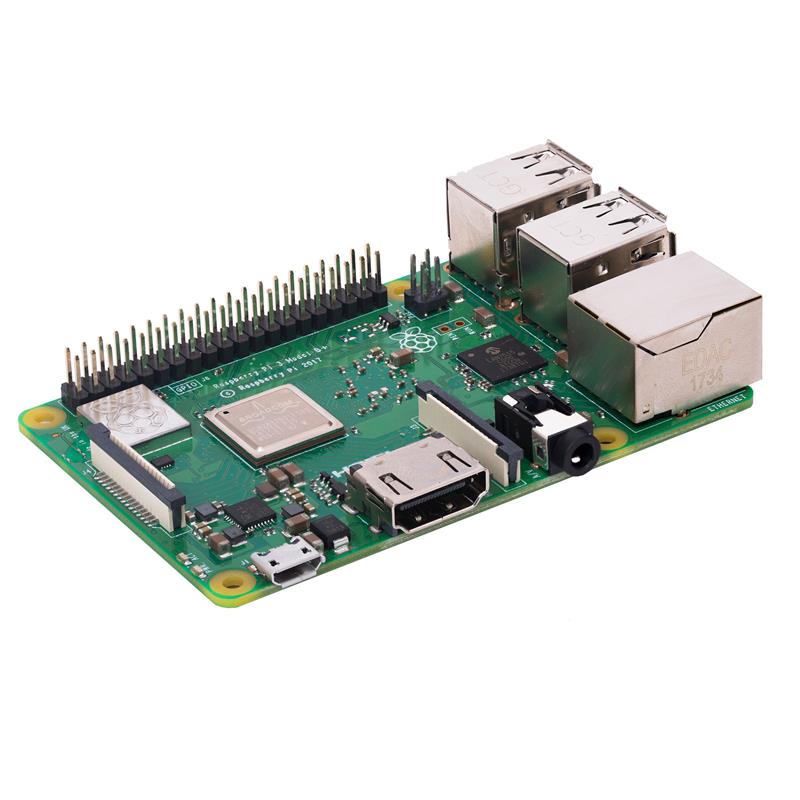
- Raspberry Pi (树莓派)*
- Edge TPU:Google Coral USB加速器
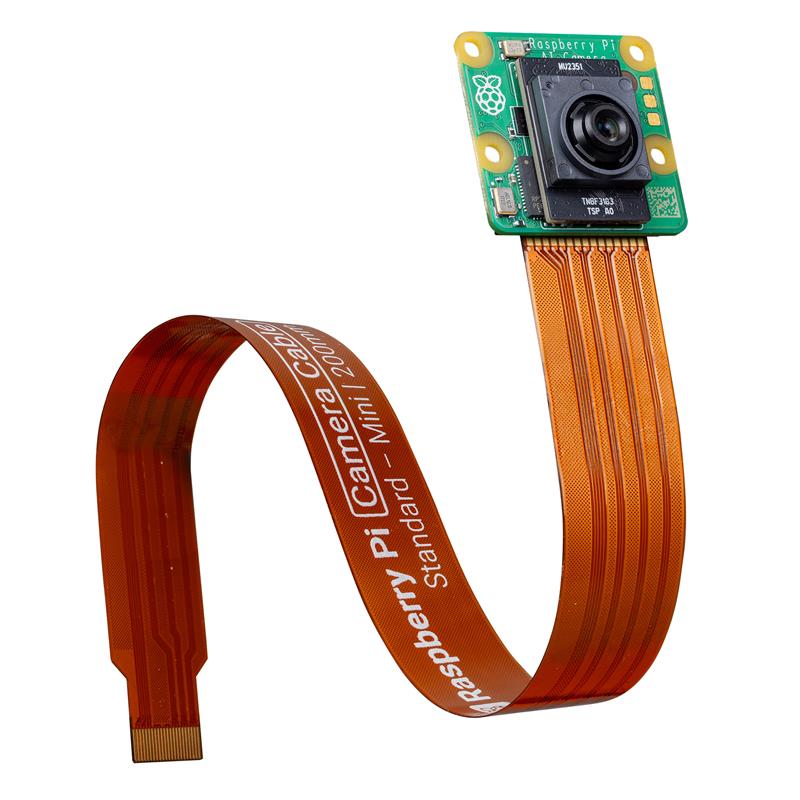
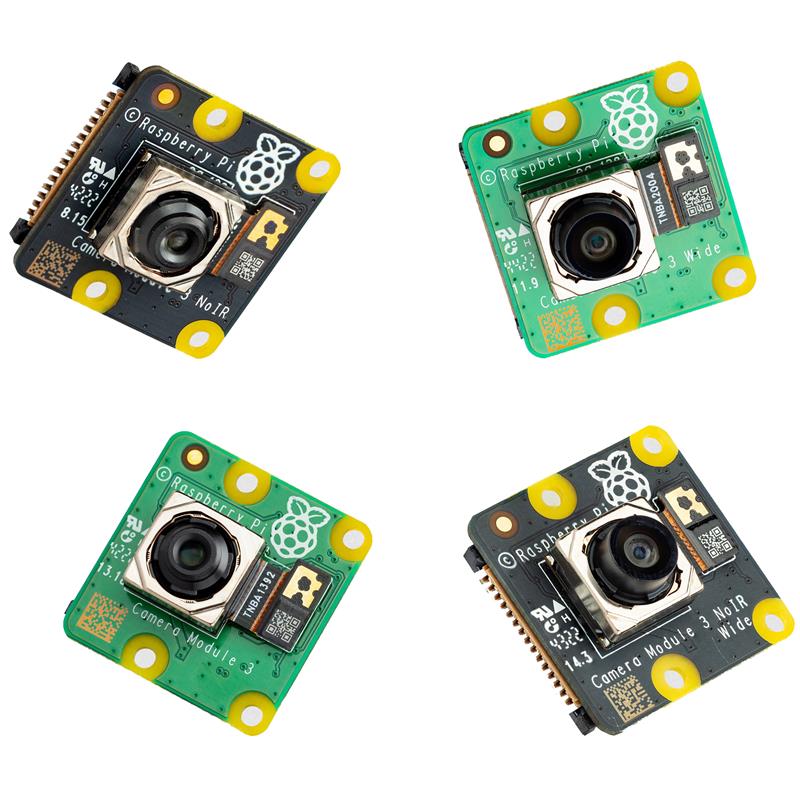
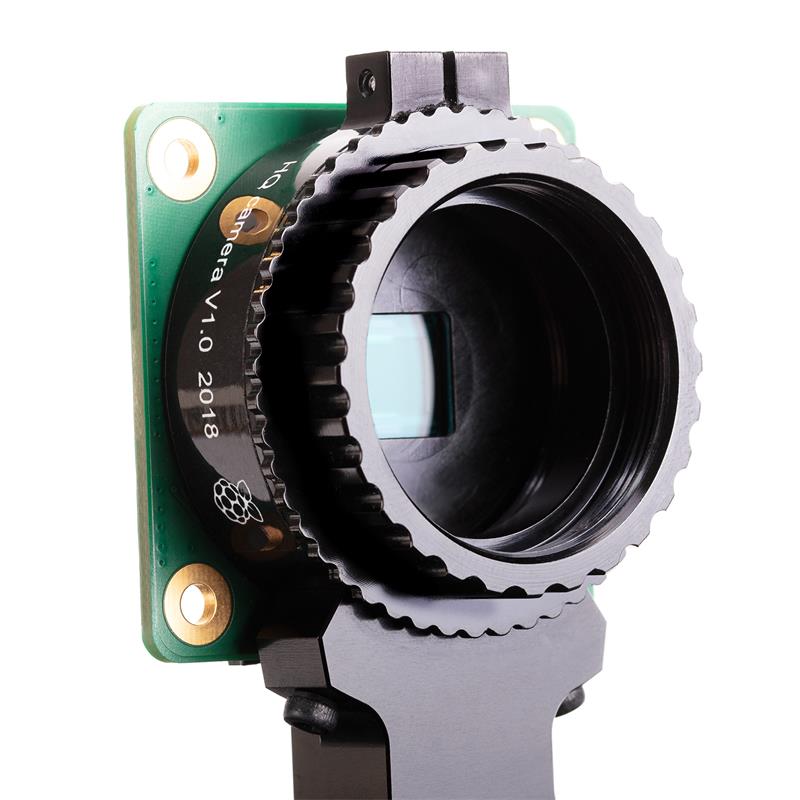
- 官方Raspberry Pi摄像头模块 或 USB网络摄像头
- 用于识别的简单对象(办公用品、水果等)
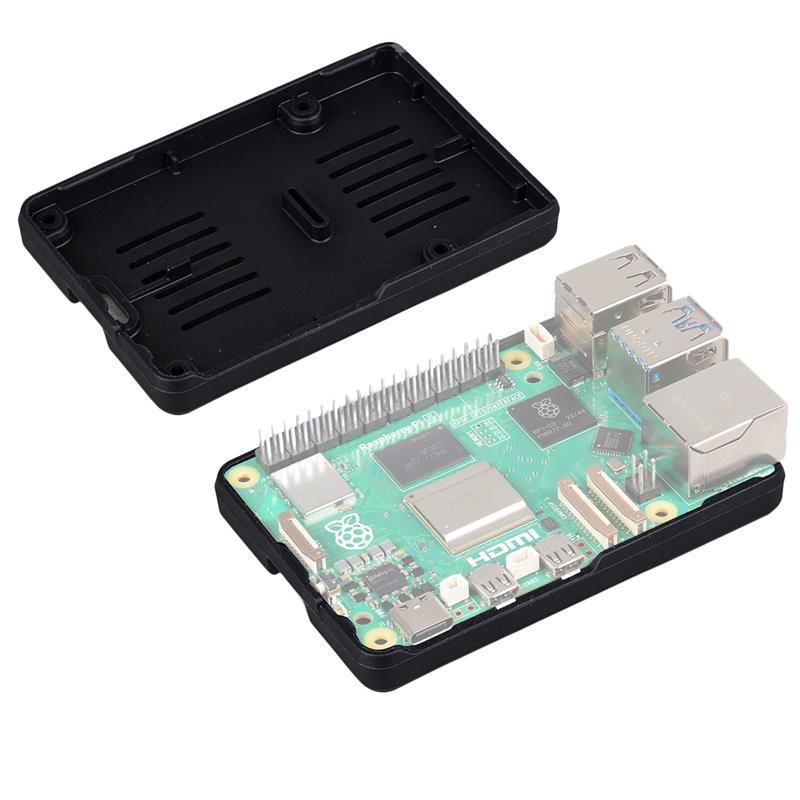
- 最佳选择:一个为Raspberry Pi和USB加速器配备散热器的外壳(也可3D打印)。
Google Coral USB加速器比Raspberry Pi 4小,应通过USB 3.0端口连接。

Google Coral USB加速器用于什么?
Google Coral USB加速器包含一个专门为神经网络计算而设计的处理器。这个处理器被称为Edge-TPU(Tensor Processing Unit)。
以下视频对神经网络进行了很好的解释,包括它们到底是什么,以及为什么你经常在阅读机器学习相关内容时会看到它们:
因此,主要任务之一是解决这些神经网络(以矩阵的形式),而Edge TPU特别擅长于此。Google提供了特殊的库,以便我们可以利用Coral USB加速器的特性。
在Raspberry Pi上安装Google Coral Edge TPU
为了使用Coral Edge TPU的处理能力,我们需要安装一些软件包。为此,我们主要遵循TPU网站的步骤。
使用 USB 加速器入门:https://coral.ai/docs/accelerator/get-started/
使用 SSH 和 Putty 远程访问树莓派:https://tutorials-raspberrypi.com/raspberry-pi-remote-access-by-using-ssh-and-putty/
打开终端(或通过SSH连接),然后输入以下命令:
echo "deb https://packages.cloud.google.com/apt coral-edgetpu-stable main" |
sudo tee /etc/apt/sources.list.d/coral-edgetpu.list
curl https://packages.cloud.google.com/apt/doc/apt-key.gpg | sudo apt-key add
-
sudo apt-get update
之后,我们可以安装Edge TPU运行时:
sudo apt-get install libedgetpu1-std注意:如果你想安装一个“更快”的运行时(意味着:频率更高),请使用以下命令:sudo apt-get install libedgetpu1-max。 但是,请记住,不能同时安装这两个版本。 此外,高频版本会使工作温度升高,因此你应仅在具备足够好的散热条件时使用它。
安装完成后,你可以将USB加速器连接到Raspberry Pi(最好连接到蓝色的USB 3.0端口)。 如果在安装之前已经连接,请暂时断开并重新连接。
现在,我们安装Python软件包。 为此,以下命令已足够:
sudo apt-get install python3-pycoral --yes安装TensorFlow Lite
我们还需要TensorFlow Lite。首先,我们检查版本:
pip3 show tflite_runtime我的结果如下:
Name: tflite-runtime
Version: 2.5.0
Summary: TensorFlow Lite is for mobile and embedded devices.
Home-page: https://www.tensorflow.org/lite/
Author: Google, LLC
Author-email: packages@tensorflow.org
License: Apache 2.0
Location: /usr/lib/python3/dist-packages
Requires:
Required-by: pycoral
如果你尚未安装TensorFlow,可以按以下方式操作,然后再次运行命令:
echo "deb https://packages.cloud.google.com/apt coral-edgetpu-stable main" |
sudo tee /etc/apt/sources.list.d/coral-edgetpu.list
curl https://packages.cloud.google.com/apt/doc/apt-key.gpg | sudo apt-key add
-
sudo apt-get update
sudo apt-get install python3-tflite-runtime
使用Google Coral和Raspberry Pi摄像头在视频中进行对象识别
接下来,我们希望在视频流中实时激活对象检测。 计算将在Edge TPU上运行。 为了显示图像,我们有几个选项。 我们可以使用例如PyGame、PiCamera或OpenCV等软件包。我更喜欢OpenCV,因为它允许我们使用计算机视觉领域的更多功能。
首先,我们通过CSI连接Raspberry Pi摄像头,或通过USB连接网络摄像头。 大多数网络摄像头会自动被检测到
让我们从一个示例项目开始。 再次打开终端:
mkdir google-coral && cd google-coral
git clone https://github.com/google-coral/examples-camera --depth 1
下一步,我们加载预训练模型。 您也可以选择使用自己训练的模型。 然而,在我们这个简单的例子中,我们只加载了MobileNet SSD300模型:,它已经可以识别许多物体。
MobileNet SSD300模型:
cd examples-camera
sh download_models.sh
这个过程需要几分钟。 之后,我们切换到OpenCV文件夹并安装依赖项(如果你想使用另一个示例,这里有这个选项)。
cd opencv
bash install_requirements.sh
现在我们可以启动示例应用程序了。 为此,你需要一个桌面环境。 如果你不是直接在Raspberry Pi上工作,我建议使用远程桌面连接。
如何建立 Raspberry Pi 远程桌面连接:https://tutorials-raspberrypi.com/raspberry-pi-remote-desktop-connection/
python3 detect.py这会打开一个新的窗口,显示视频流。 在视频流中,检测到的物体会用矩形标记出来。 你还可以看到计算出的物体被检测到的概率(以百分比表示)(即根据算法,这个物体被识别为特定物体的可能性有多大)。
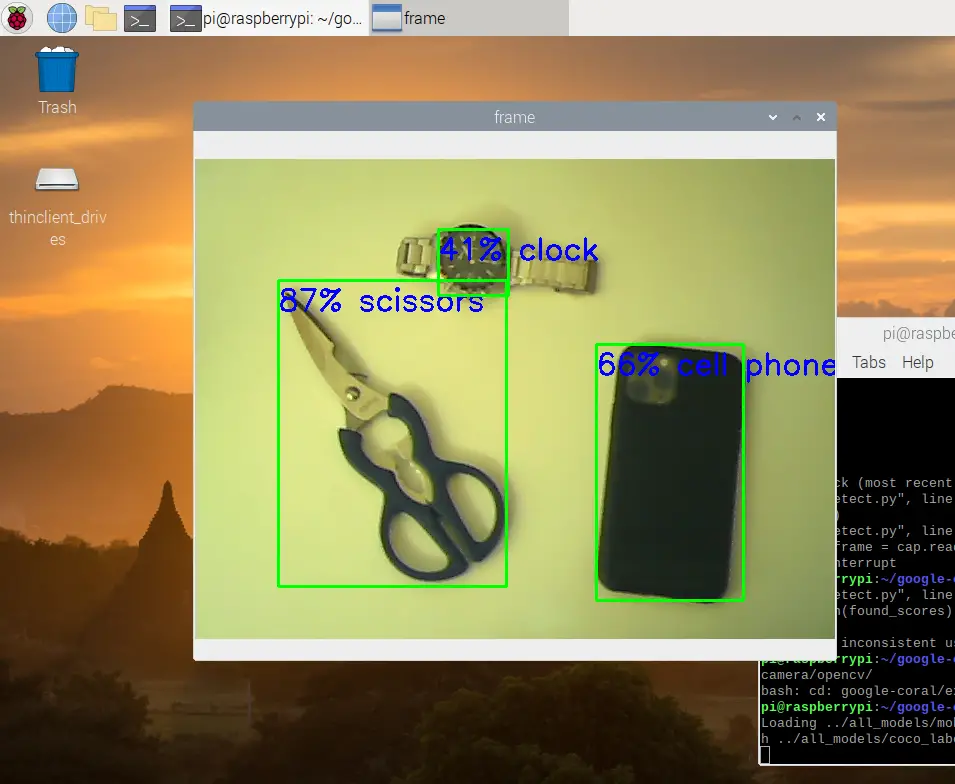 现在让我们仔细查看代码,以了解发生了什么:
# Copyright 2019 Google LLC
#
# Licensed under the Apache License, Version 2.0 (the "License");
# you may not use this file except in compliance with the License.
# You may obtain a copy of the License at
#
#     https://www.apache.org/licenses/LICENSE-2.0
#
# Unless required by applicable law or agreed to in writing, software
# distributed under the License is distributed on an "AS IS" BASIS,
# WITHOUT WARRANTIES OR CONDITIONS OF ANY KIND, either express or implied.
# See the License for the specific language governing permissions and
# limitations under the License.

"""A demo that runs object detection on camera frames using OpenCV.

TEST_DATA=../all_models

Run face detection model:
python3 detect.py \
  --model ${TEST_DATA}/mobilenet_ssd_v2_face_quant_postprocess_edgetpu.tflite

Run coco model:
python3 detect.py \
  --model ${TEST_DATA}/mobilenet_ssd_v2_coco_quant_postprocess_edgetpu.tflite \
  --labels ${TEST_DATA}/coco_labels.txt

"""
import argparse
import cv2
import os

from pycoral.adapters.common import input_size
from pycoral.adapters.detect import get_objects
from pycoral.utils.dataset import read_label_file
from pycoral.utils.edgetpu import make_interpreter
from pycoral.utils.edgetpu import run_inference

def main():
    default_model_dir = '../all_models'
    default_model = 'mobilenet_ssd_v2_coco_quant_postprocess_edgetpu.tflite'
    default_labels = 'coco_labels.txt'
    parser = argparse.ArgumentParser()
    parser.add_argument('--model', help='.tflite model path',
                        default=os.path.join(default_model_dir,default_model))
    parser.add_argument('--labels', help='label file path',
                        default=os.path.join(default_model_dir, default_labels))
    parser.add_argument('--top_k', type=int, default=3,
                        help='number of categories with highest score to display')
    parser.add_argument('--camera_idx', type=int, help='Index of which video source to use. ', default = 0)
    parser.add_argument('--threshold', type=float, default=0.1,
                        help='classifier score threshold')
    args = parser.parse_args()

    print('Loading {} with {} labels.'.format(args.model, args.labels))
    interpreter = make_interpreter(args.model)
    interpreter.allocate_tensors()
    labels = read_label_file(args.labels)
    inference_size = input_size(interpreter)

    cap = cv2.VideoCapture(args.camera_idx)

    while cap.isOpened():
        ret, frame = cap.read()
        if not ret:
            break
        cv2_im = frame

        cv2_im_rgb = cv2.cvtColor(cv2_im, cv2.COLOR_BGR2RGB)
        cv2_im_rgb = cv2.resize(cv2_im_rgb, inference_size)
        run_inference(interpreter, cv2_im_rgb.tobytes())
        objs = get_objects(interpreter, args.threshold)[:args.top_k]
        cv2_im = append_objs_to_img(cv2_im, inference_size, objs, labels)

        cv2.imshow('frame', cv2_im)
        if cv2.waitKey(1) & 0xFF == ord('q'):
            break

    cap.release()
    cv2.destroyAllWindows()

def append_objs_to_img(cv2_im, inference_size, objs, labels):
    height, width, channels = cv2_im.shape
    scale_x, scale_y = width / inference_size[0], height / inference_size[1]
    for obj in objs:
        bbox = obj.bbox.scale(scale_x, scale_y)
        x0, y0 = int(bbox.xmin), int(bbox.ymin)
        x1, y1 = int(bbox.xmax), int(bbox.ymax)

        percent = int(100 * obj.score)
        label = '{}% {}'.format(percent, labels.get(obj.id, obj.id))

        cv2_im = cv2.rectangle(cv2_im, (x0, y0), (x1, y1), (0, 255, 0), 2)
        cv2_im = cv2.putText(cv2_im, label, (x0, y0+30),
                             cv2.FONT_HERSHEY_SIMPLEX, 1.0, (255, 0, 0), 2)
    return cv2_im

if __name__ == '__main__':
    main()
- 首先,包含了所需的PyCoral库。
- 在主函数中,定义了可以从命令行传递的参数(如指定模型等)。
- 加载模型及其标签,并根据模型确定尺寸(此处为300×300)。
- 然后打开视频流(cap = cv2.VideoCapture(args.camera_idx))。
- 接下来是核心部分:
objs = get_objects(interpreter, args.threshold)[:args.top_k]- 此过程中会确定“分类分数”最高的3个元素(且分数需高于阈值)。
- 随后,在图像上标记每个检测到的物体。
响应特定对象
如果我们想在检测到某个特定对象(例如一个人)时立即触发一个动作,现在应该怎么做呢?
为此,我们首先来看一下get_objects函数的返回值:
[
Object(id=16, score=0.5, bbox=BBox(xmin=-2, ymin=102, xmax=158, ymax=296)),
Object(id=0, score=0.16015625, bbox=BBox(xmin=6, ymin=114, xmax=270, ymax=300)),
Object(id=61, score=0.12109375, bbox=BBox(xmin=245, ymin=166, xmax=301, ymax=302))
]
我们看到,每个检测到的对象都包含一个ID、一个分数以及一个带有坐标的边界框。 为了确定检测到了哪个对象,我们需要查看标签:
{0: 'person', 1: 'bicycle', 2: 'car', 3: 'motorcycle', 4: 'airplane', 5: 'bus',
6: 'train', 7: 'truck', 8: 'boat', 9: 'traffic light', 10: 'fire hydrant', 1
2: 'stop sign', 13: 'parking meter', 14: 'bench', 15: 'bird', 16: 'cat', 17: 'dog',
18: 'horse', 19: 'sheep', 20: 'cow', 21: 'elephant', 22: 'bear', 23: 'zebra',
24: 'giraffe', 26: 'backpack', 27: 'umbrella', 30: 'handbag', 31: 'tie',
32: 'suitcase', 33: 'frisbee', 34: 'skis', 35: 'snowboard', 36: 'sports ball',
37: 'kite', 38: 'baseball bat', 39: 'baseball glove', 40: 'skateboard',
41: 'surfboard', 42: 'tennis racket', 43: 'bottle', 45: 'wine glass', 46: 'cup',
47: 'fork', 48: 'knife', 49: 'spoon', 50: 'bowl', 51: 'banana', 52: 'apple',
53: 'sandwich', 54: 'orange', 55: 'broccoli', 56: 'carrot', 57: 'hot dog',
58: 'pizza', 59: 'donut', 60: 'cake', 61: 'chair', 62: 'couch', 63: 'potted plant',
64: 'bed', 66: 'dining table', 69: 'toilet', 71: 'tv', 72: 'laptop', 73: 'mouse',
74: 'remote', 75: 'keyboard', 76: 'cell phone', 77: 'microwave', 78: 'oven',
79: 'toaster', 80: 'sink', 81: 'refrigerator', 83: 'book', 84: 'clock', 85: 'vase',
86: 'scissors', 87: 'teddy bear', 88: 'hair drier', 89: 'toothbrush'}
在我的案例中,识别到的对象有猫(ID=16)、人(ID=0)和椅子(ID=61)。
如果你想知道这些标签是从哪里来的:它们是在模型中训练的,因此被包含在内。 如果你创建自己的模型,也可以只包含对你而言重要的一个或几个对象。 例如,识别你自己的脸也是可能的。
在上面的例子中,我们想在检测到某个特定对象(例如ID=5的公交车)时立即触发一个动作。 为此,我们首先查找该对象的ID。接下来,我们需要检查是否找到了具有该ID的对象。 我们还可以为分数添加一个阈值(例如0.8)。 伪代码看起来像这样:
found_scores = [o.score for o in objs if o.id == 5]
if len(found_scores) > 0 and max(found_scores) >= 0.8:
# do something
正如你所见,对其做出反应非常简单。 之后,我们可以保存照片。
结论
对于那些觉得Raspberry Pi的计算能力不够的人来说,Google的Edge TPU提供了一个很好的机会。与高端显卡相比,USB加速器也非常便宜。 高端显卡的平均价格超过一千美元。
以300x300px的分辨率运行对象检测非常流畅。 也可以使用更高的分辨率,但你必须注意设备的温度。 我建议为连续运行增加一个额外的风扇。
此外,Google还提供了其他包含学习内容的存储库。对于Coral的其他用例,这个存储库仍然很有趣,并且除了其他内容外,还配备了图像识别的示例。
https://github.com/google-coral/pycoral
顺便说一下,我们也可以使用TensorFlow创建自己的对象识别模型。 为此,我们首先需要标注图像,然后训练一个模型。 如果你感兴趣,未来将提供相关的教程。
你对哪些其他的机器学习应用和用例感兴趣?我曾考虑过车牌自动识别等项目,但也很期待听到更多关于Raspberry Pi与Google Coral TPU结合的创意建议。
原文地址: https://tutorials-raspberrypi.com/using-tensorflow-lite-with-google-coral-tpu-on-raspberry-pi-4/





















 中文
中文


